Branch as Code Setup
The best method to start working with Branch as Code is to clone our example repository. This repository contains the proper directory structure and base files required.
In this section, you will clone the repository and then setup Branch as Code. This includes setting the Python virtual environment, installing necessary packages, and configuring Terraform to work with the Meraki Dashboard.
Before we extract the example repository, we need to understand how the Network as Code repositories contains a series of TAGS to match the versions requirements. Why is this? Each release version of the capability is tied to specific versions of the components. In some releases, breaking changes are introduced that require different versions of specific packages. In the example repository, you can see the list of version tags that are available. As of this writing:
| TAGS | Date |
|---|---|
| 1.0 | November 2025 |
The reason this is important is to avoid issues where changes pushed into the main branch of the example repository may not work with the other components since it is a non tested combination. The TAG is an immutable construct inside of GIT, which means that once a TAG is created, it will always point to the same commit, which is the exact same code. It can’t be changed.
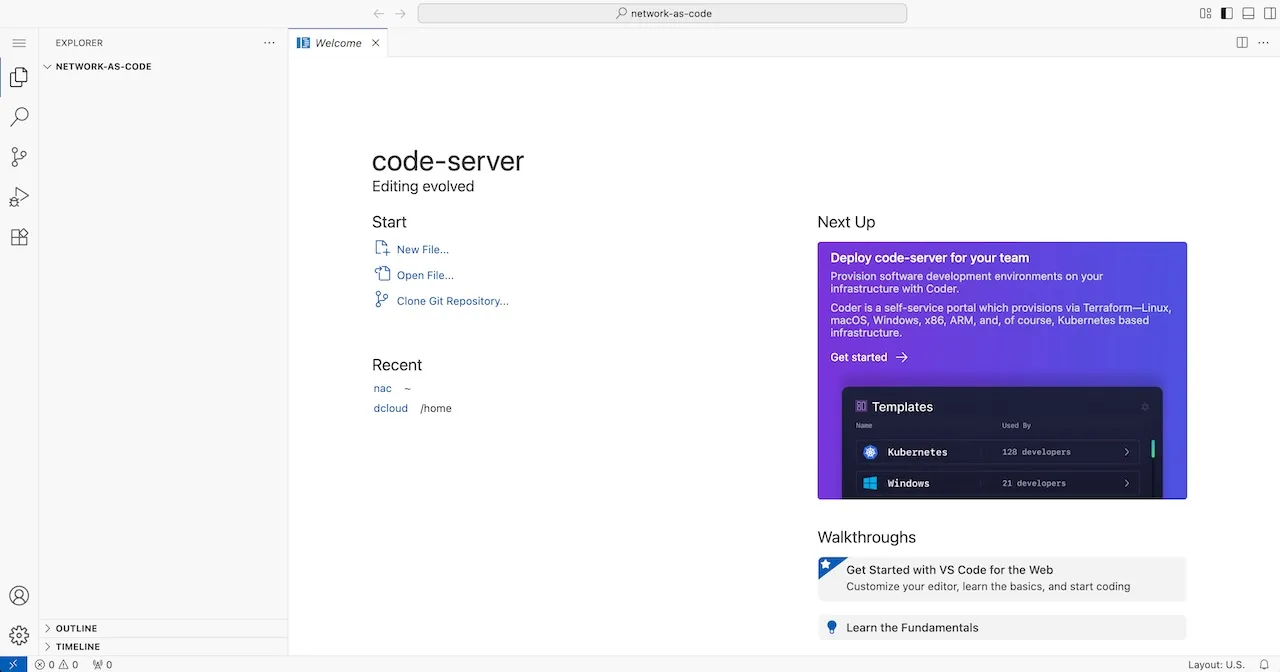
Step 1: Open your IDE
Section titled “Step 1: Open your IDE”In this guide, we will use VS Code for demonstration purposes. All screenshots are from VS Code, but the steps are generally applicable to other editors as well.
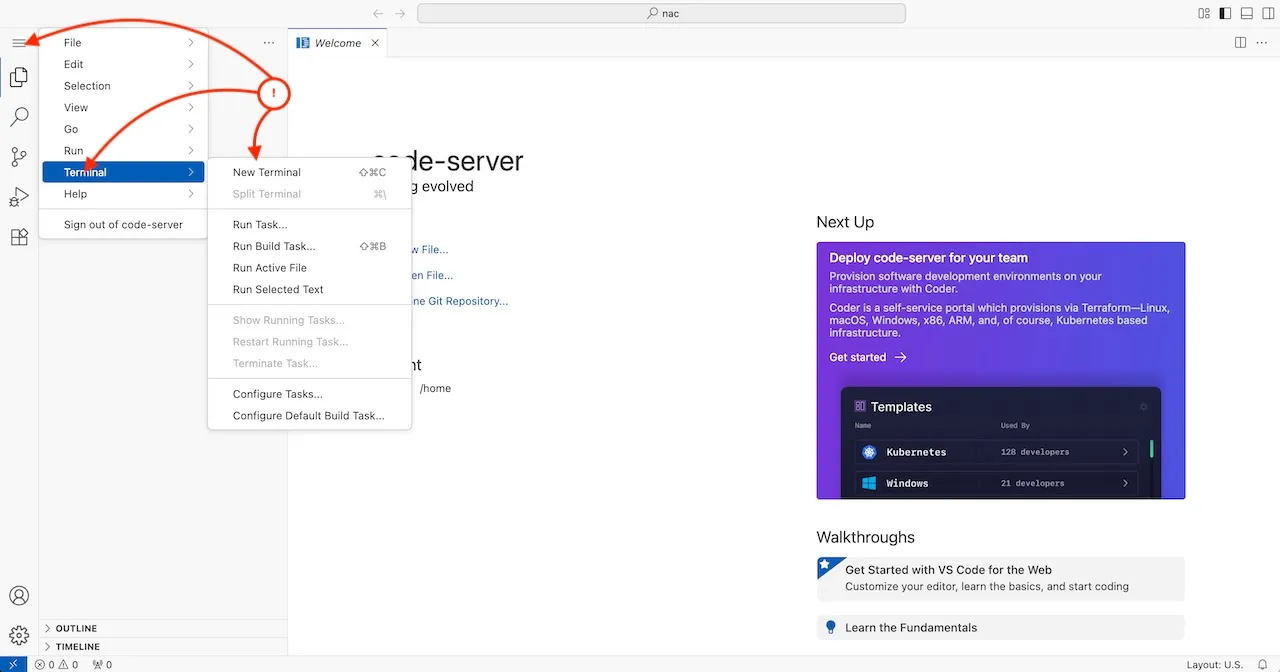
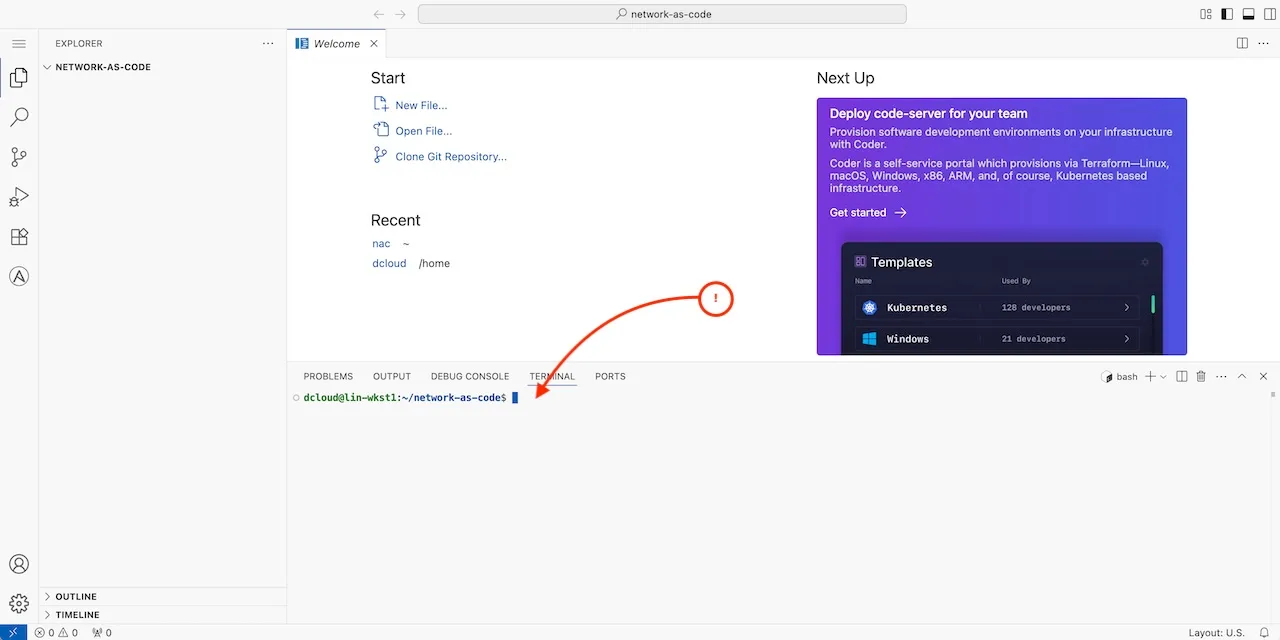
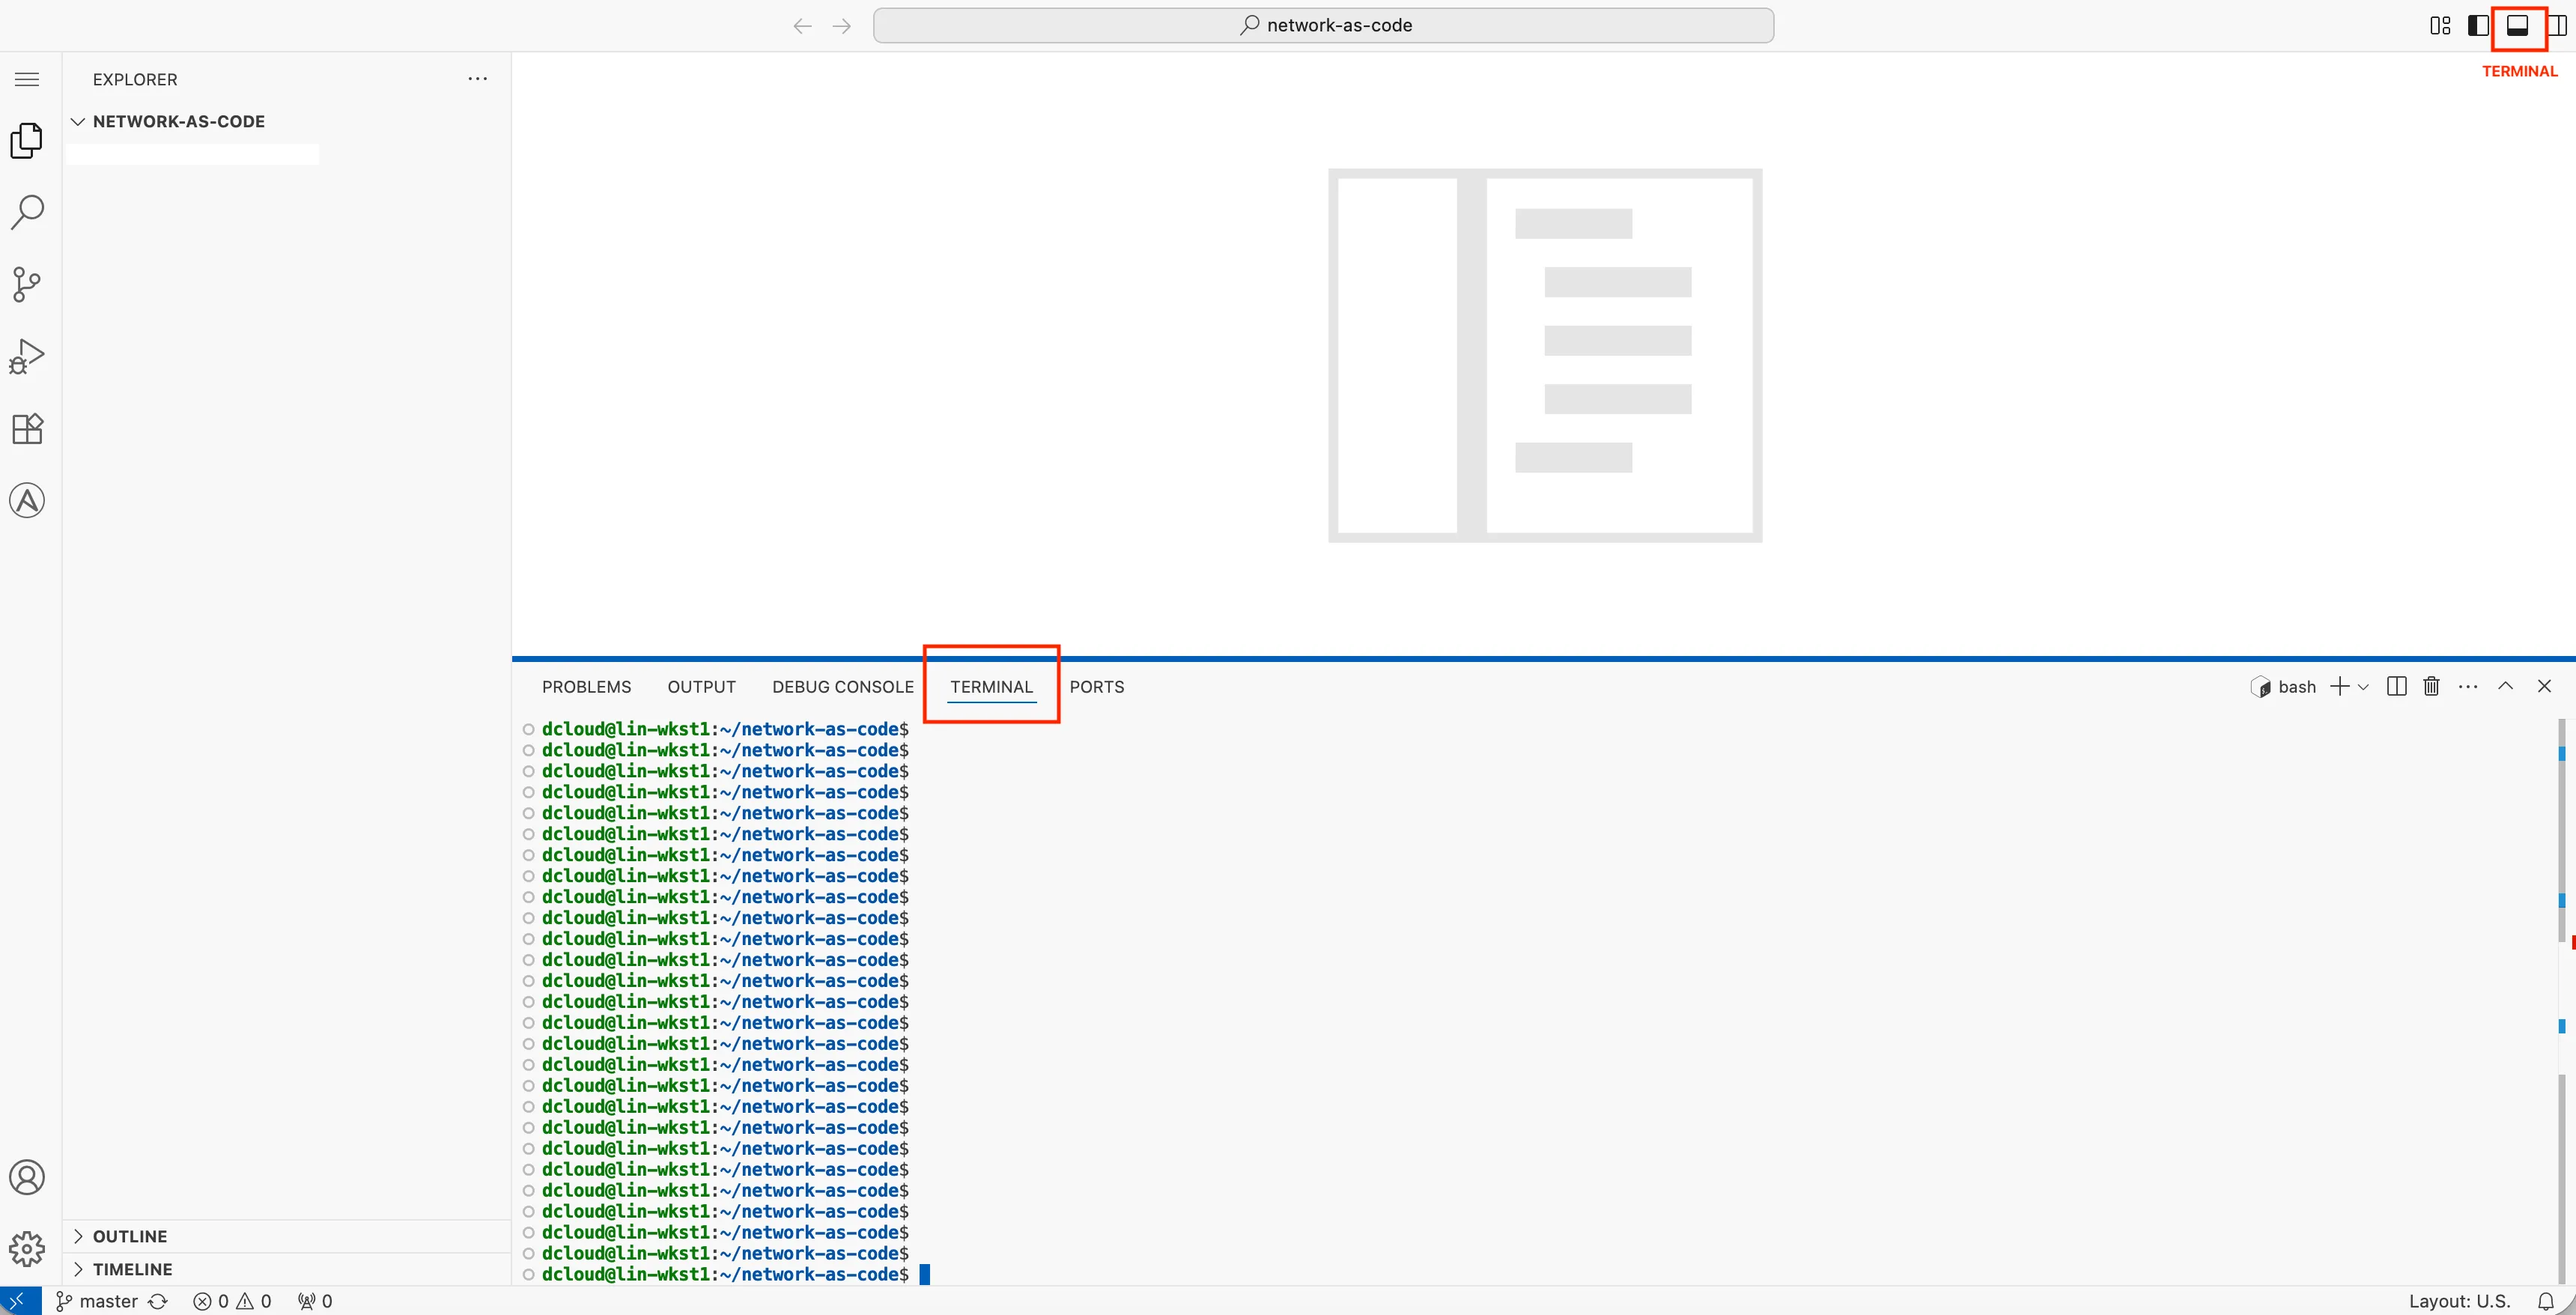
Step 2: Open the terminal
Section titled “Step 2: Open the terminal”To access the terminal, click on the menu icon on the top left and select “Terminal” > “New Terminal”. This will open a terminal window at the bottom of the Code Server interface.
The Branch as Code capabilities use Terraform as the core automation engine. You need an environment that includes Terraform, Python, and any required dependencies. This guide will walk you through setting up the environment to run the Branch as Code.
Why the need for a Python virtual environment?
Section titled “Why the need for a Python virtual environment?”When working with Terraform workflows, particularly in Branch as Code or automation scenarios that involve Python-based helpers or modules, it is recommended to set up a dedicated Python environment. While Python could be installed at the system level (available to all users), this approach can lead to version conflicts or dependency issues. Using a virtual environment helps isolate your Terraform-related Python dependencies from the rest of your system. Tools like pyenv make it easy to manage multiple Python versions and virtual environments safely.
Python virtual environments allow you to package the exact dependencies needed for specific scripts or Terraform helpers. For example, you may need different versions of Python or supporting libraries for different Terraform modules or testing scripts. A virtual environment ensures that your automation runs consistently every time, without being affected by system-wide Python packages.
After installing a Python version with pyenv, you can list all installed versions. One of the key benefits of pyenv is that it allows you to manage multiple Python versions on the same system, ensuring your Terraform automation and Python scripts can run reliably in isolated environments.
Installing PyEnv
Section titled “Installing PyEnv”There are many documents online to help you install pyenv on your system. We have a brief set of instructions for installing pyenv on MacOS, Linux, and Windows. This also includes links to the official documentation for pyenv for your specific operating system.
Step 1: Create working directory
Section titled “Step 1: Create working directory”For the execution of this lab you can create a new directory:
mkdir ~/network-as-codeStep 2: Create a Python virtual environment
Section titled “Step 2: Create a Python virtual environment”Create a virtual environment using pyenv with the Python version you installed. This will create a new virtual environment named branch-as-code using Python 3.12.10. The pyenv local command sets the local Python version for the current directory to the specified virtual environment. This allows automatic activation of the virtual environment when you navigate to this directory.
Verify Python Version Installed
python --versionShould give you outoput:
The `python' command exists in these Python versions: 3.12.10pyenv virtualenv 3.12.10 branch-as-codepyenv activate branch-as-codeNow you should see your branch-as-code virtual environment activated:
(branch-as-code) HOSTNAME:~/working-folder$
Step 3: Update PIP
Section titled “Step 3: Update PIP”PIP is a package manager for Python that allows you to install and manage Python packages. It is recommended to update PIP to the latest version before installing any packages.
pip install --upgrade pipStep 4: Clone the example repository
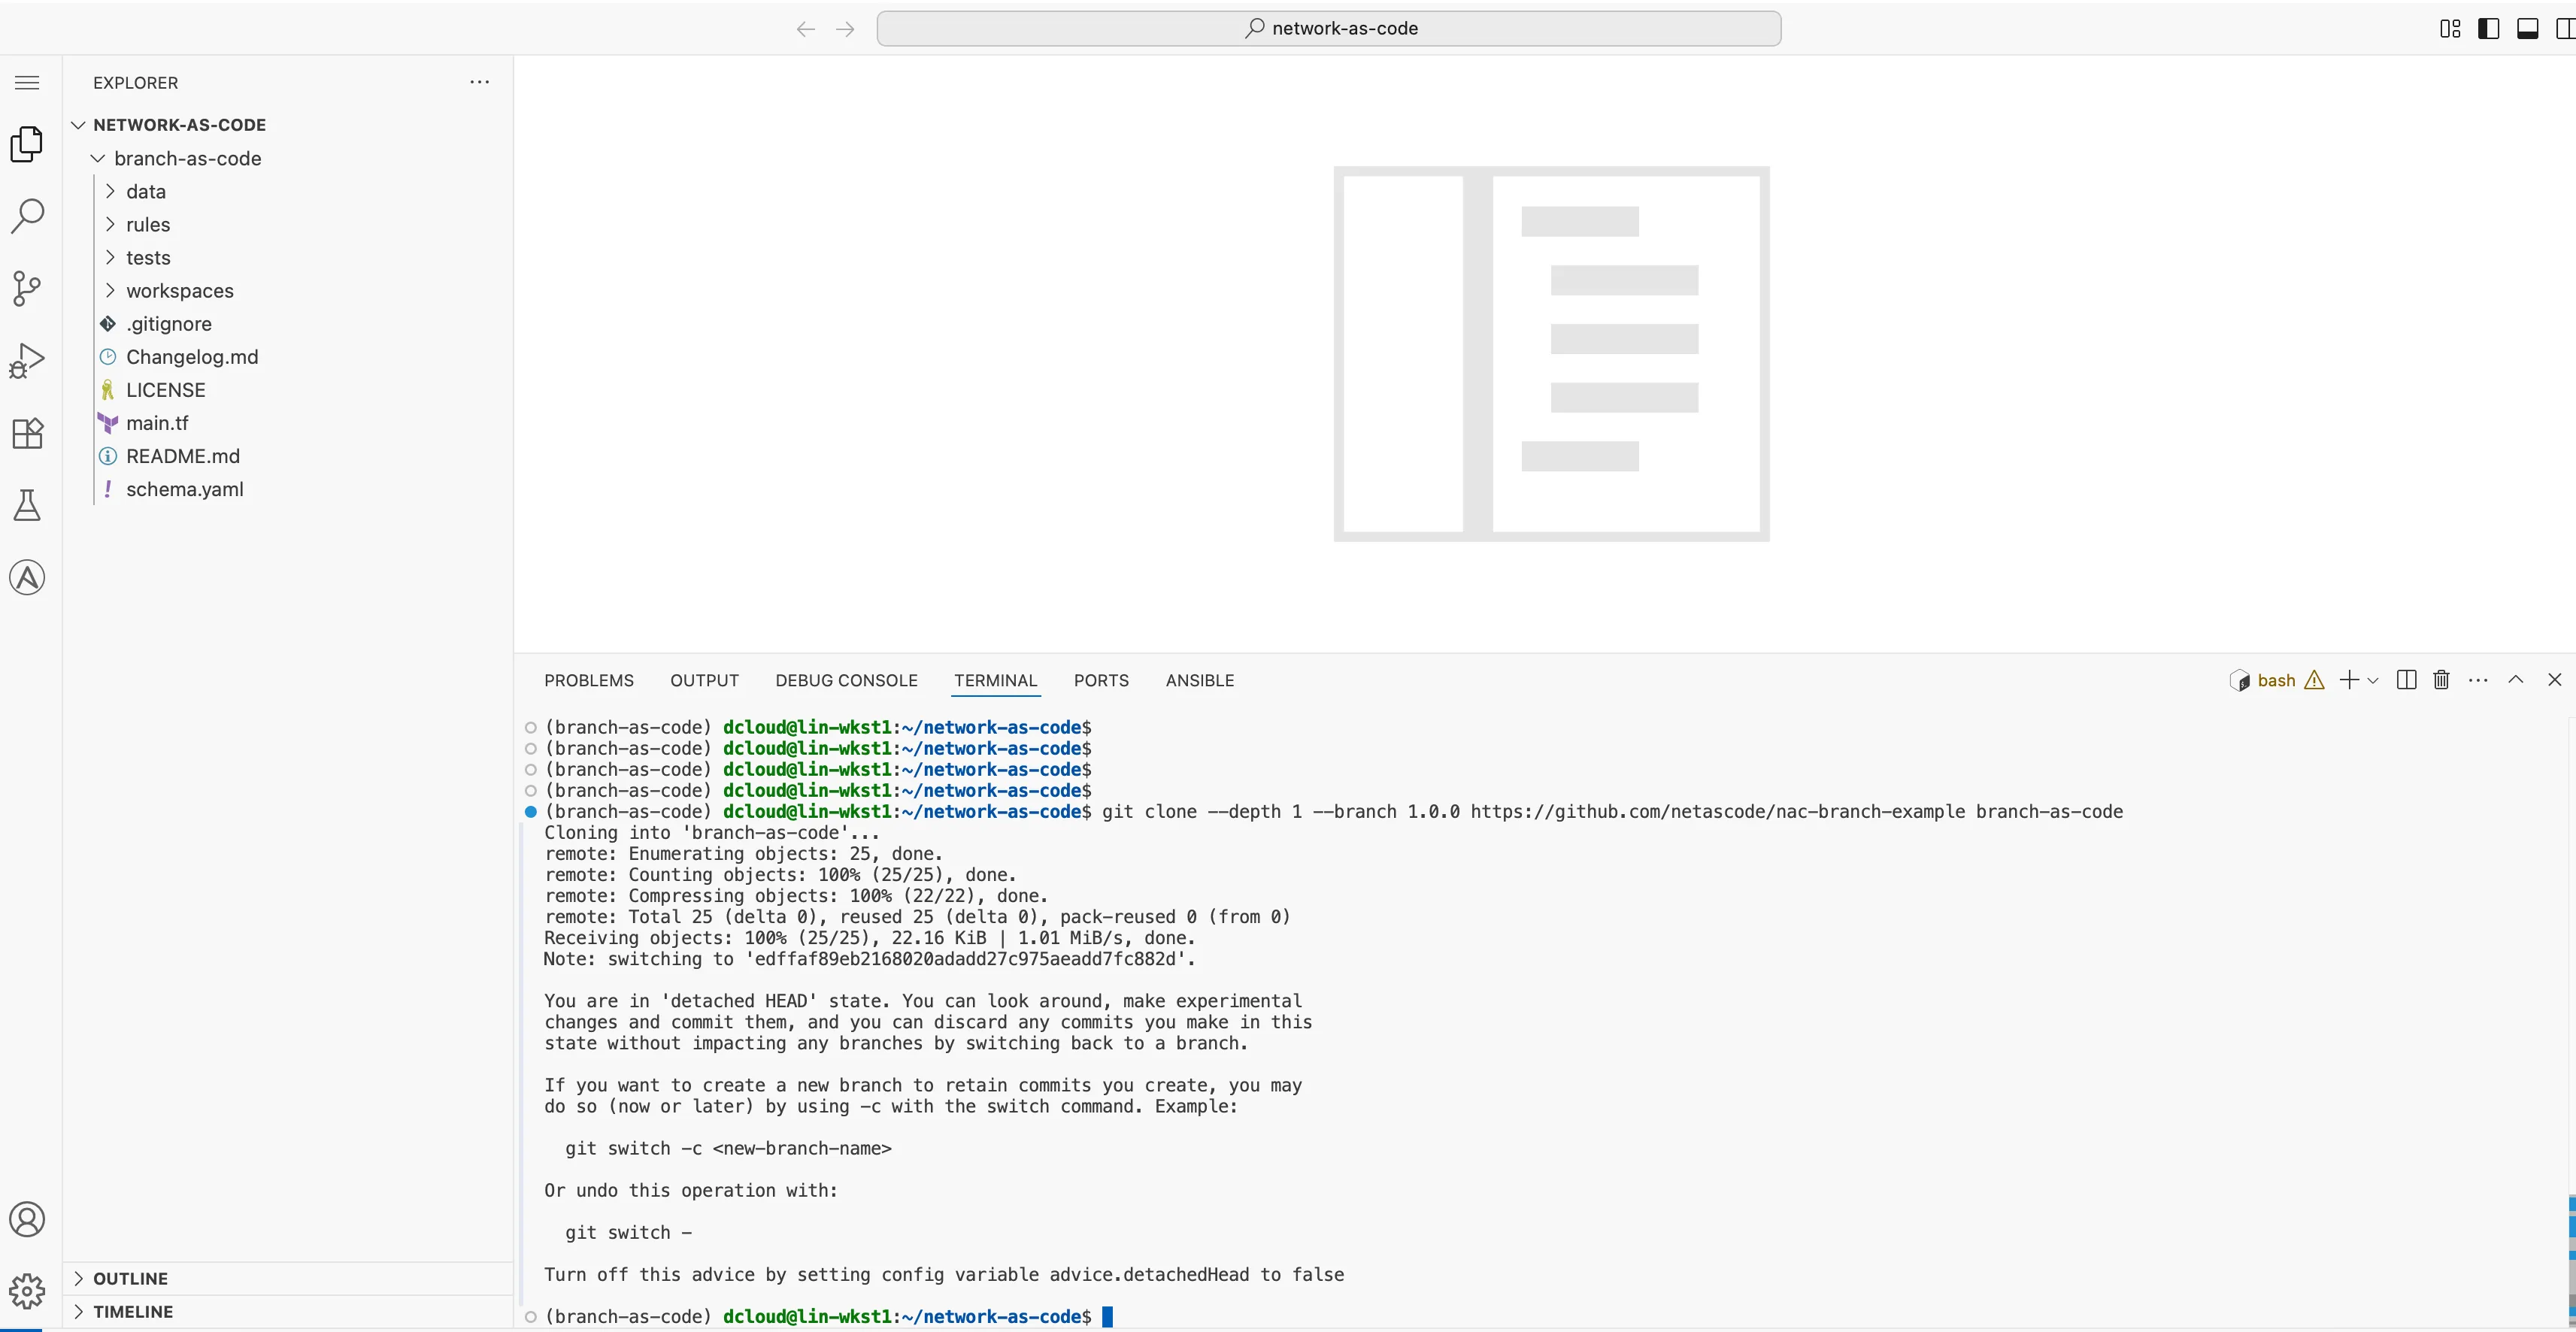
Section titled “Step 4: Clone the example repository”The first step is to clone the example repository that contains the necessary files and configurations for Branch as Code. Using the GIT command you will be doing a clone of the example repository into a directory named branch-as-code in your network-as-code home directory.
Note: If you are not familiar with GIT, please refer to the Understanding GIT section of this guide. It provides a starting point to help you understand GIT and the relationship with Network as Code.
cd ~/network-as-codegit clone --depth 1 --branch 1.0.0 https://github.com/netascode/nac-branch-example branch-as-codeOnce completed you should be able to see the structure inside of the IDE.
Step 5: Remove the .git directory
Section titled “Step 5: Remove the .git directory”After cloning the repository, you will need to remove the .git directory. This is because you will be using this repository as a starting point for your own Branch as Code project. We provide these example repositories as “starting points”, but you will not be using this repository for yourself. When you delete the .git directory, you will no longer be able to use GIT commands to manage the repository until the repository has been initialized again, which you will do later in this guide.
dcloud@lin-wkst1:~/network-as-code/branch-as-code$ ls -latotal 64drwxr-xr-x 8 dcloud dcloud 4096 Nov 4 10:14 .drwxrwxr-x 3 dcloud dcloud 4096 Nov 4 10:14 ..-rw-r--r-- 1 dcloud dcloud 80 Nov 4 10:14 Changelog.mddrwxr-xr-x 2 dcloud dcloud 4096 Nov 4 10:14 datadrwxr-xr-x 3 dcloud dcloud 4096 Nov 4 10:14 docsdrwxr-xr-x 8 dcloud dcloud 4096 Nov 4 10:24 .git >>>>>>>>>>>>>>>>> DIRECTORY MUST BE REMOVED-rw-r--r-- 1 dcloud dcloud 10172 Nov 4 10:14 LICENSE-rw-r--r-- 1 dcloud dcloud 135 Nov 4 10:14 main.tf-rw-r--r-- 1 dcloud dcloud 8653 Nov 4 10:14 README.mddrwxr-xr-x 2 dcloud dcloud 4096 Nov 4 10:14 rulesdrwxr-xr-x 3 dcloud dcloud 4096 Nov 4 10:14 testsdrwxr-xr-x 2 dcloud dcloud 4096 Nov 4 10:14 workspacescd ~/network-as-code/branch-as-coderm -rf .gitStep 6: Install nac testing and validating packages
Section titled “Step 6: Install nac testing and validating packages”In addition we must also install the two packages part of Network as Code for testing and validation.
nac-validatenac-test
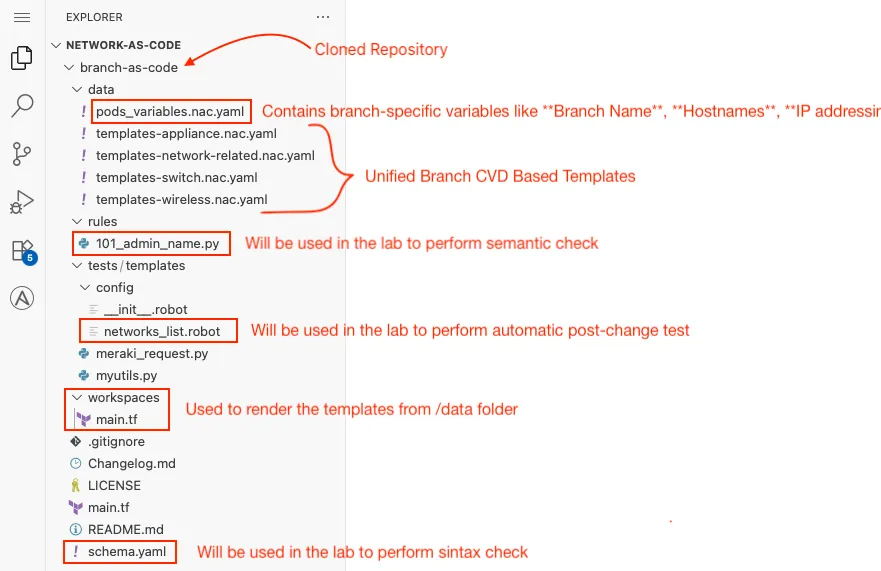
pip install nac-validatepip install nac-testUnderstanding the file structure
Section titled “Understanding the file structure”Previously, in the Building blocks of Branch as Code section we explained the data structure and types of variables being used. Let’s do quick recap:
Step 7: Set environment variables
Section titled “Step 7: Set environment variables”To set the environment variables, you will need to create a .env file in the root of the cloned repository. This file will contain the necessary environment variables for connecting to Meraki Dashboard and executing the automation. This file is not committed to the repository, so you will need to create it manually. And it is also ignored by git on purpose to make sure that you don’t accidentally commit sensitive information into the repository.
Note: In a future chapter of this document you will learn how these variables are used inside automation pipeline software. The key here is that these variables are read by the Network as Code automation code such that you never embed coded credentials inside of a repository.
The variables used by the automation are:
cd ~/network-as-code/branch-as-codecode-server .envIn the opened file you will add the following content:
export secret_password="C1sco12345!!66"export org_name="Unified Branch Learning Org"export MERAKI_API_KEY= //add your own API keyexport org_email = // add your own emailIf you are using your own API you need a Meraki API key with configuration permissions. (Dashboard → Organization → Settings → Dashboard API access)
For the org_email variable, use your own email address that you have access to, as it will be needed to configure the password and access the dashboard.
You can replace the sample configuration values with those that match your own environment.
Then save the file.