Lab Environment Setup
For this lab we will be utilizing Cisco dCloud to provide a lab environment that is pre-configured with necessary components to run the Meraki as Code capability. You are required to schedule the lab in Cisco dCloud. You must have an account in Cisco dCloud to be able to access the lab environment. Go back to the Lab Overview for more details on how to request access to the lab environment if you do not have one.
In the provided lab environment, following components are included and pre-configured:
- IDE / Code Server: to modify the Network as Code data model.
- Installed tools: Git, Terraform, Python (3.12)
- SCM platform: GitLab
- CI/CD platform: GitLab Pipelines.
You should prepare the following on your own before you get started with the lab:
- Meraki API Key and login (full write access): no hardware required.
We recommend you to use your own Meraki Dashboard environment for this lab. If you do not have one, you can create a free dashboard account by following the section “Creating a Meraki dashboard account”. No hardware is required to create a dashboard account, and you can generate an API key with full write access in the dashboard account to use for this lab.
1. Creating a Meraki dashboard account
Section titled “1. Creating a Meraki dashboard account”Jump to Step 2 if you already have a dashboard account that you can use for this lab.
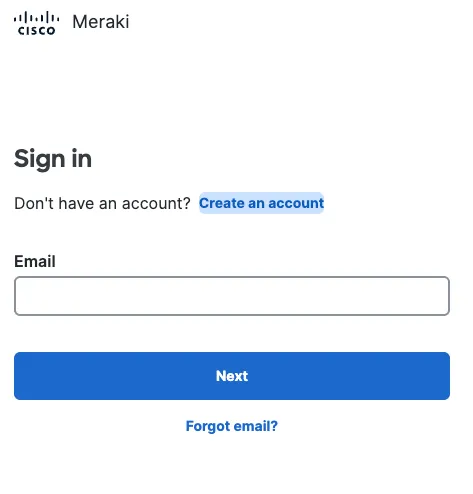
Browse to meraki.cisco.com and click on the “Login” button on the top right corner.
Then click on “Create an account” and follow the instructions to create a new account.
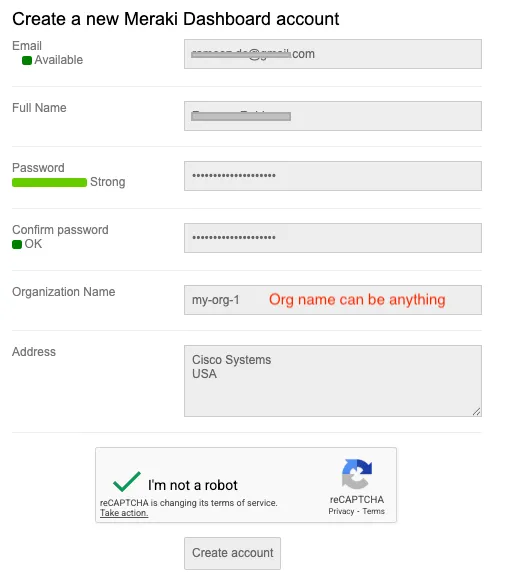
Fill-in the required information and click on “Create account”. Use your personal email address that does not belong to a Meraki dashboard account to keep things simple.
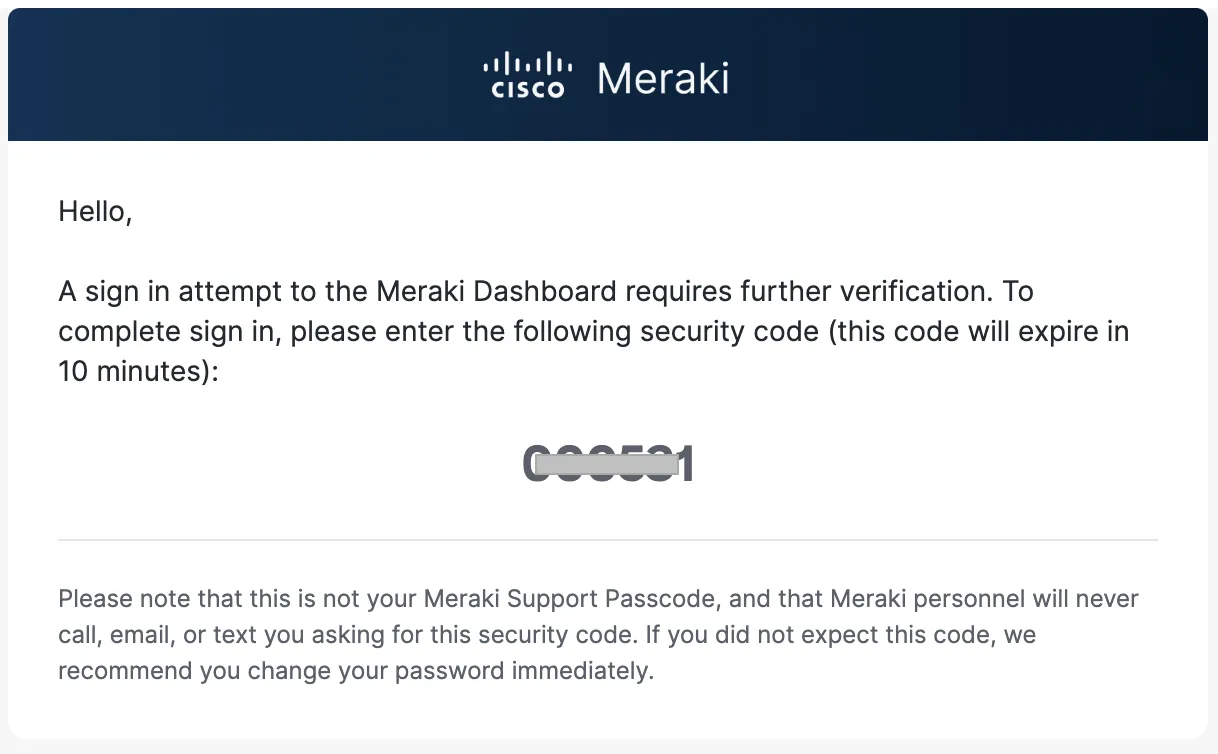
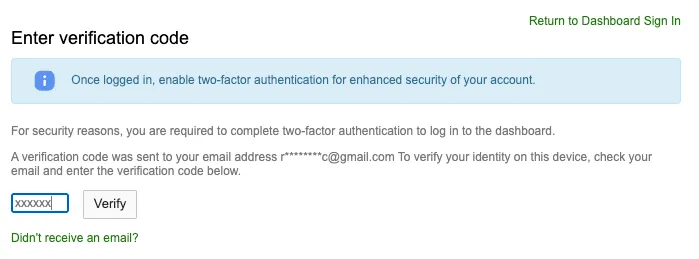
Enter the verification code sent to your email and click on “Verify”
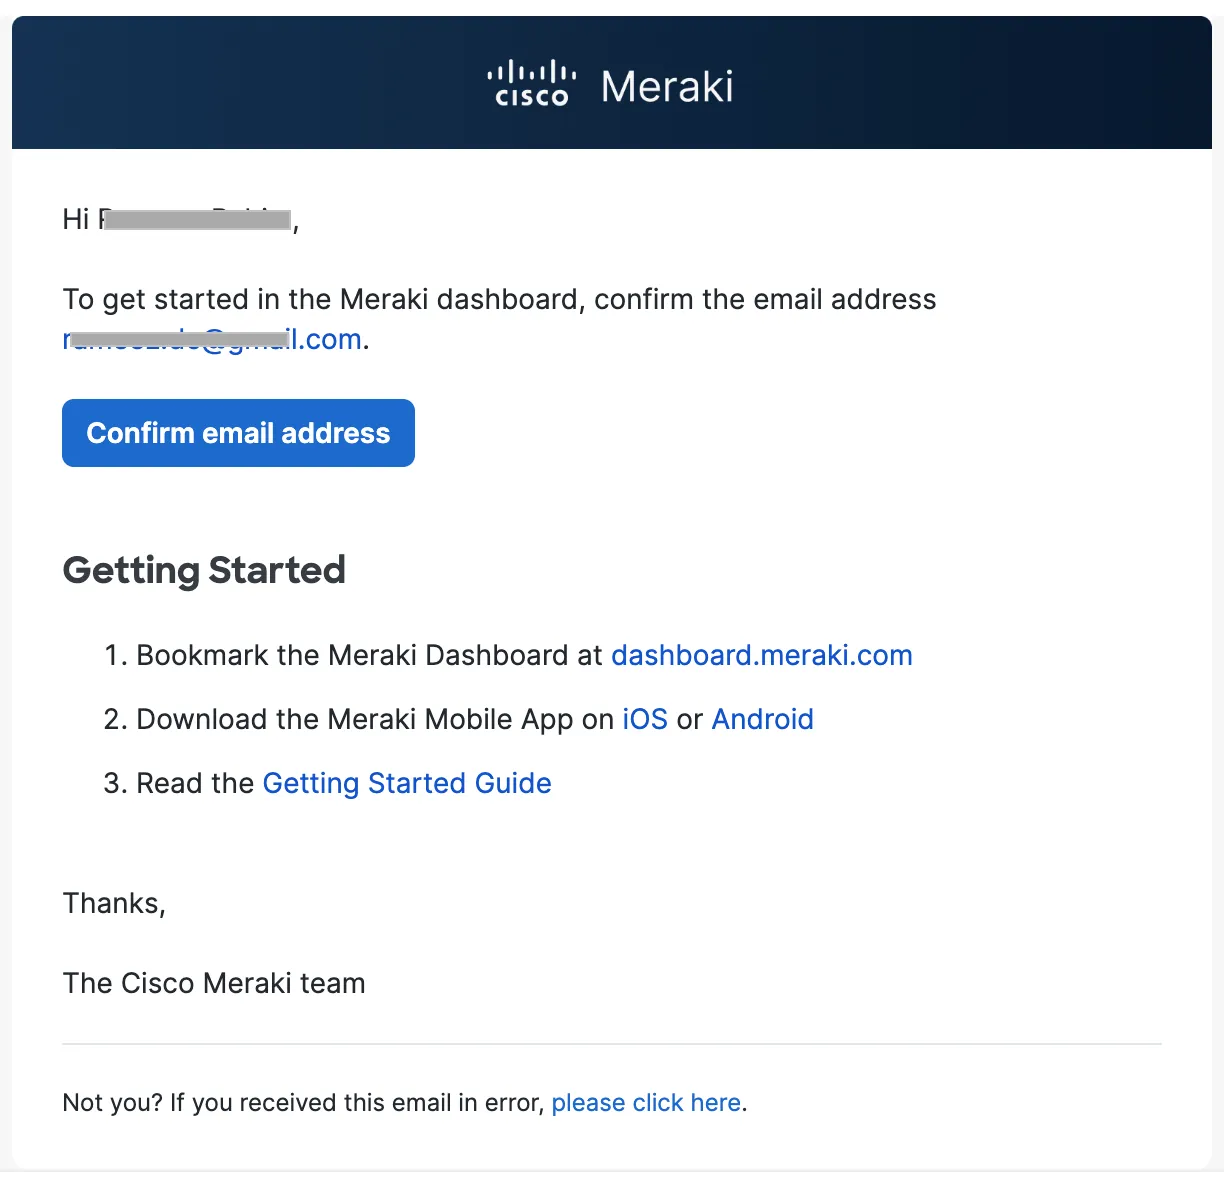
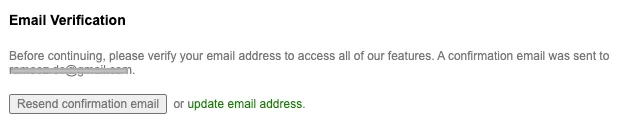
Verify your email by clicking the link sent to your email.
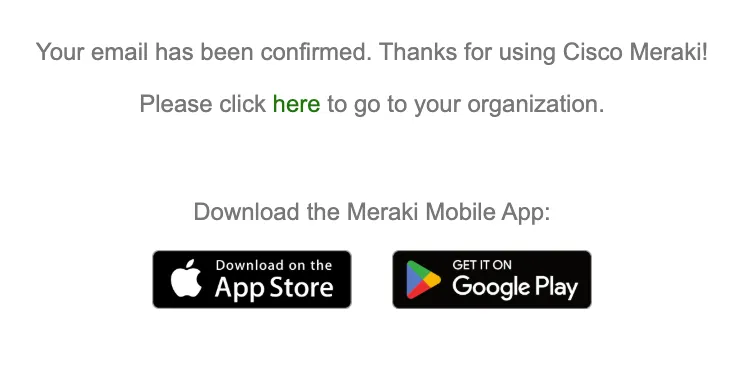
Once you have verified your email, click on “click here to go to your organization” to access your dashboard.
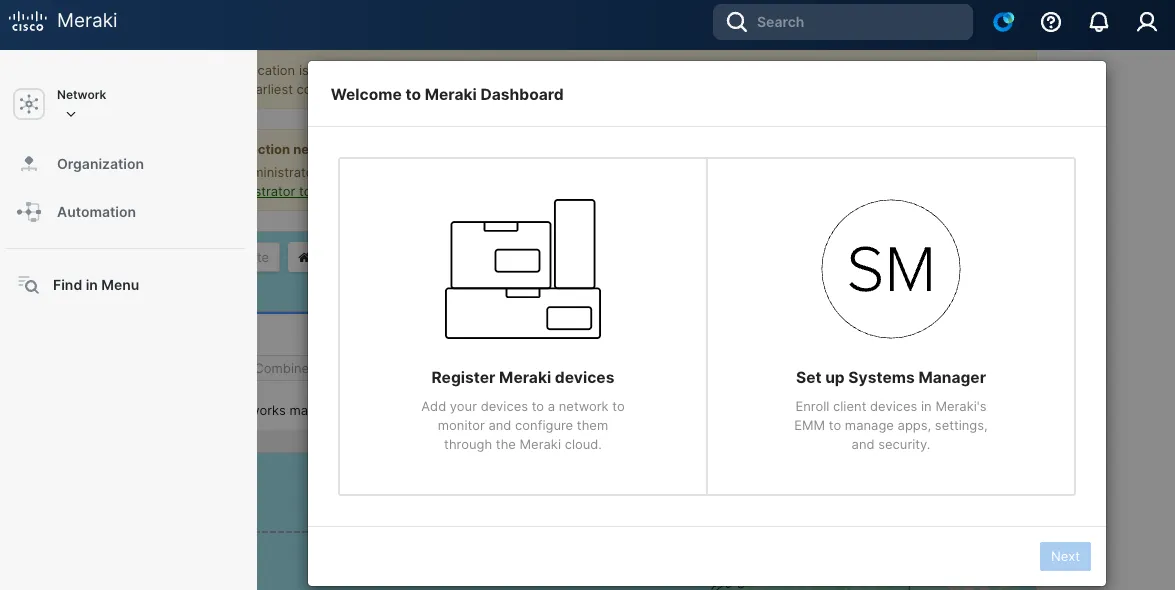
Select “Register Meraki devices” and click “Next”
Enter any network name of your choice and click “Create Network”
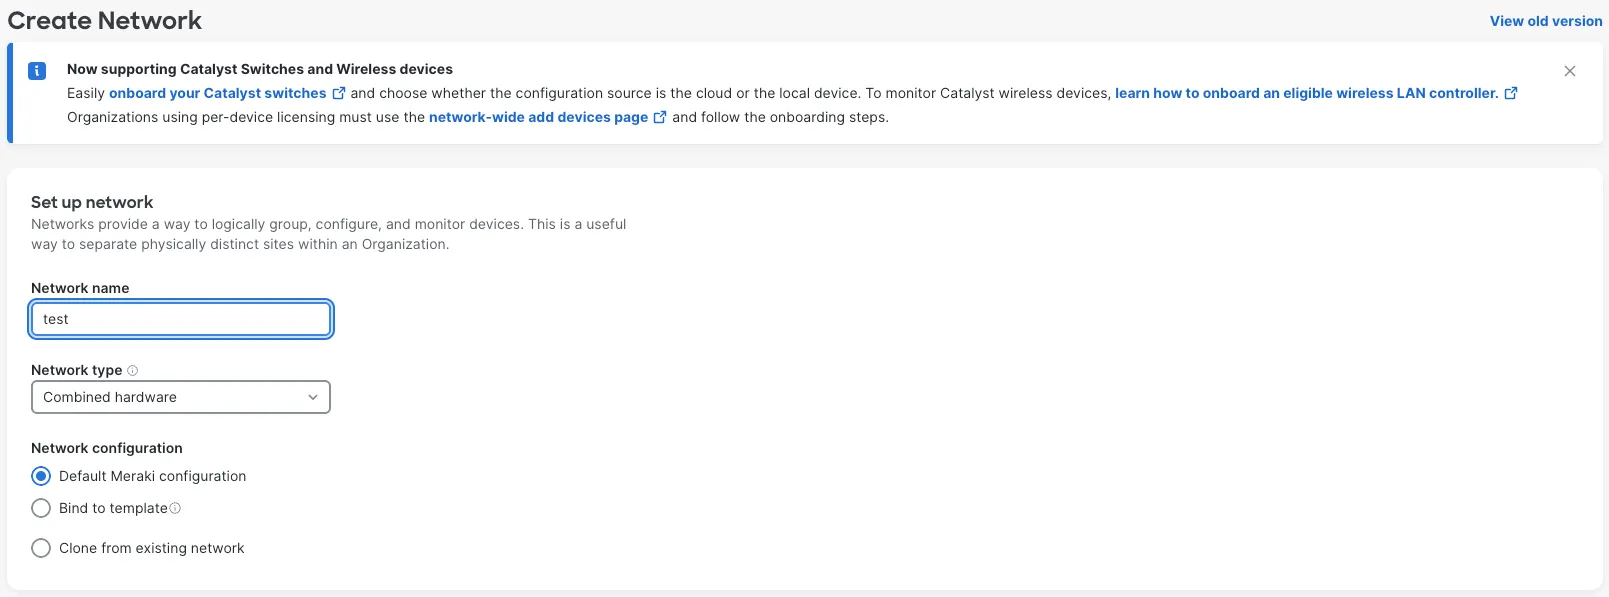
Though you will not use this network and organization for the lab, creating a network is required to be able to generate an API key with full write access.
2. Generating an API key with full write access
Section titled “2. Generating an API key with full write access”Follow the instructions in this guide to generate an API key with full write access.
3. Connecting to the lab environment
Section titled “3. Connecting to the lab environment”Once you have scheduled the lab, you will be provided with the details to access the lab environment.
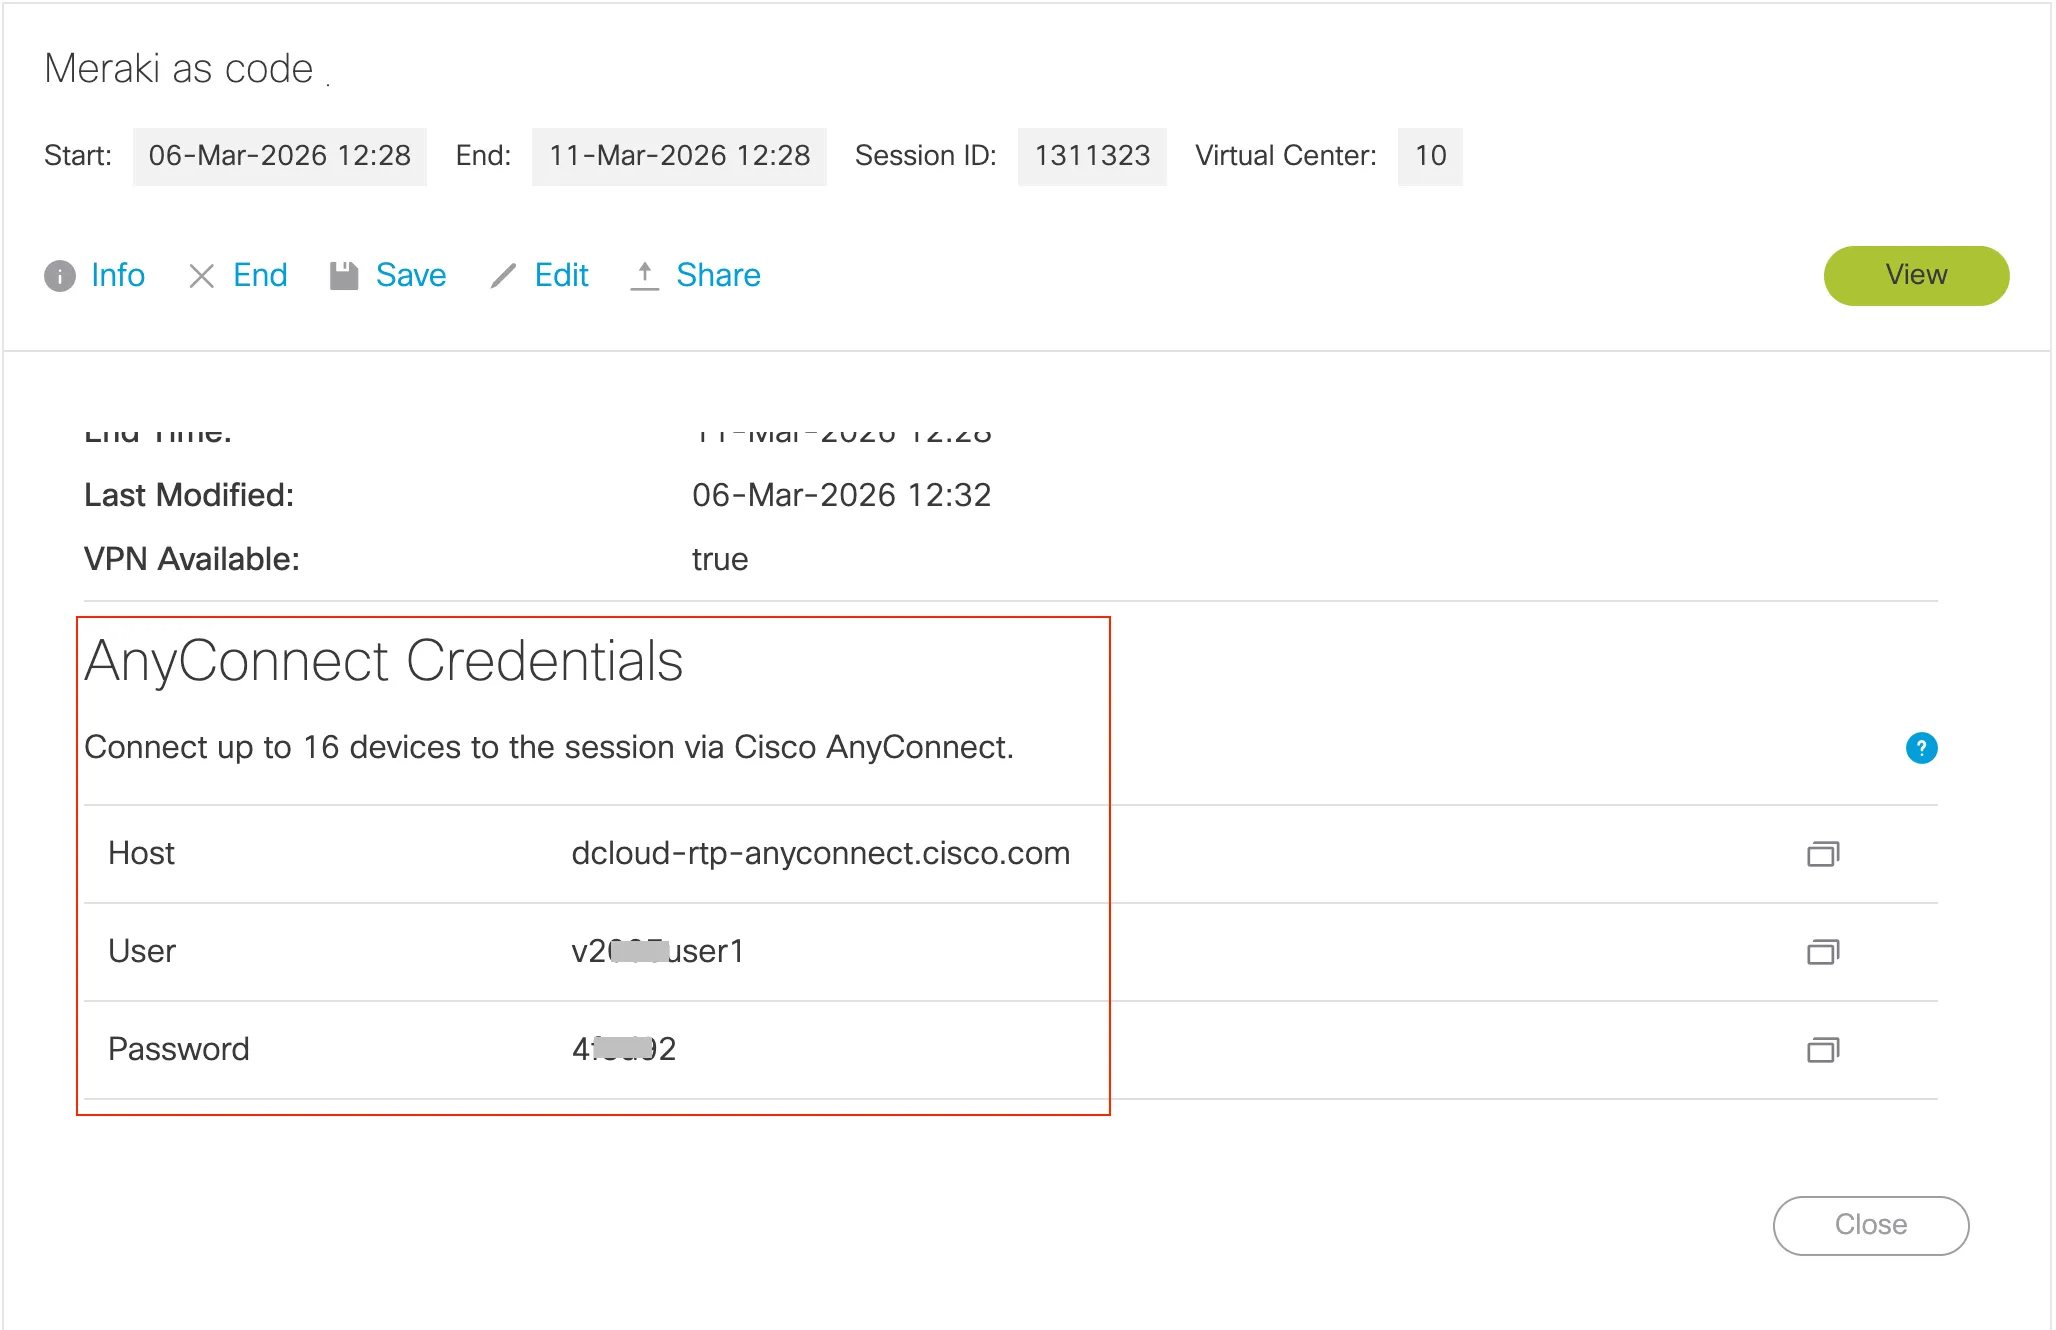
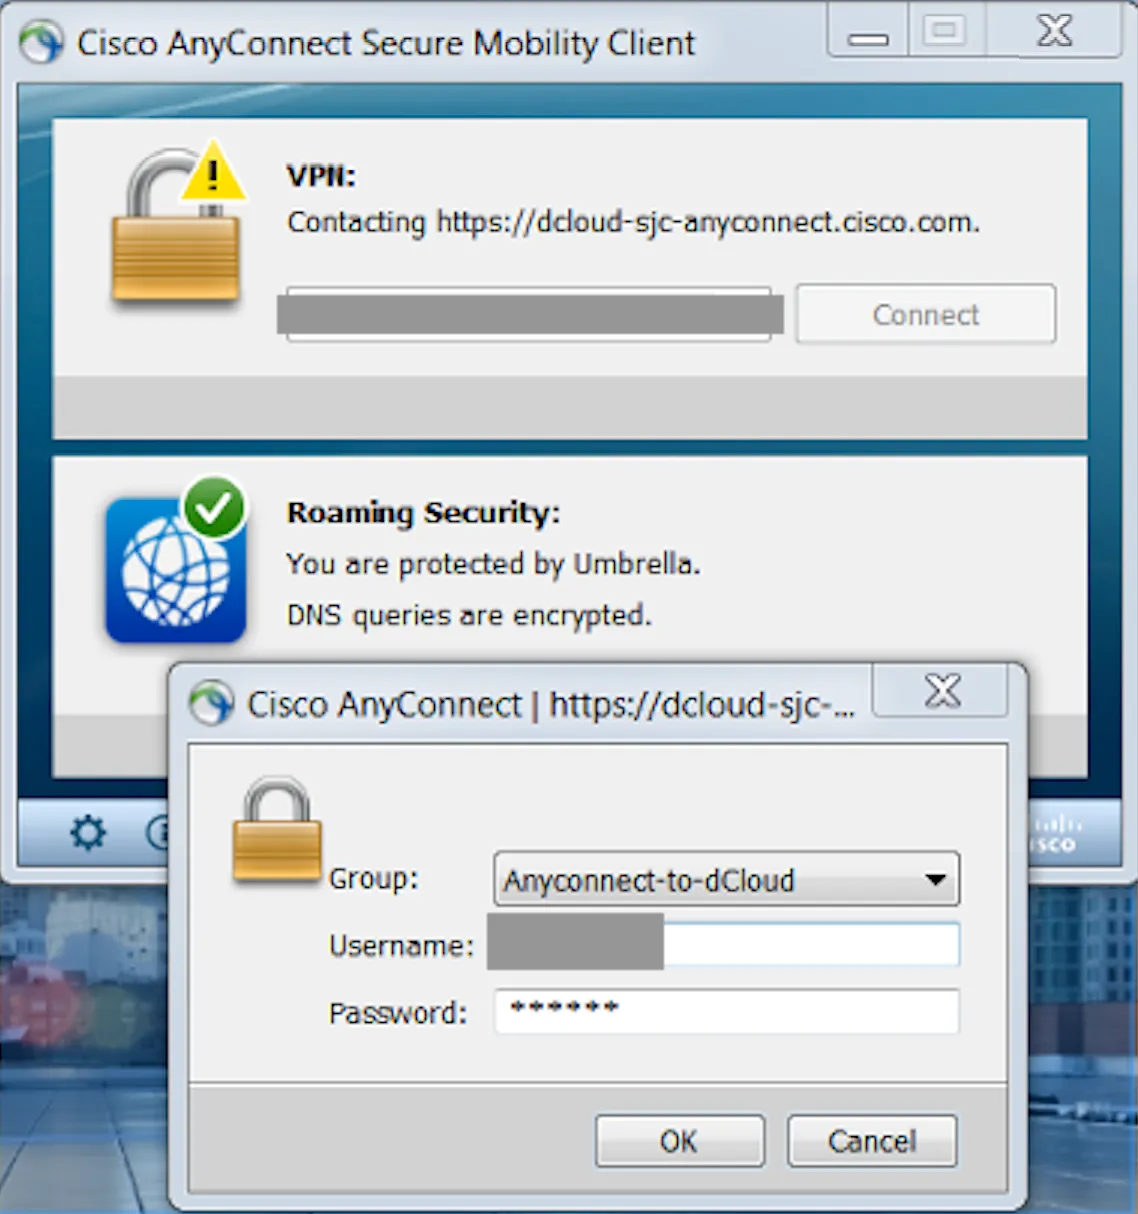
Connect to dCloud VPN using Cisco Secure Client.
You can find the Cisco Secure Client VPN credentials in the dCloud lab details page
Optional: Download Cisco Secure Client software.
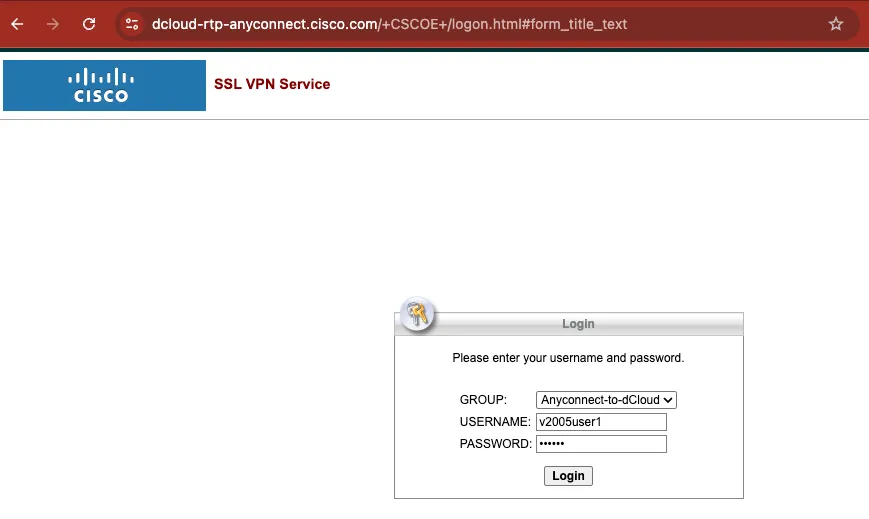
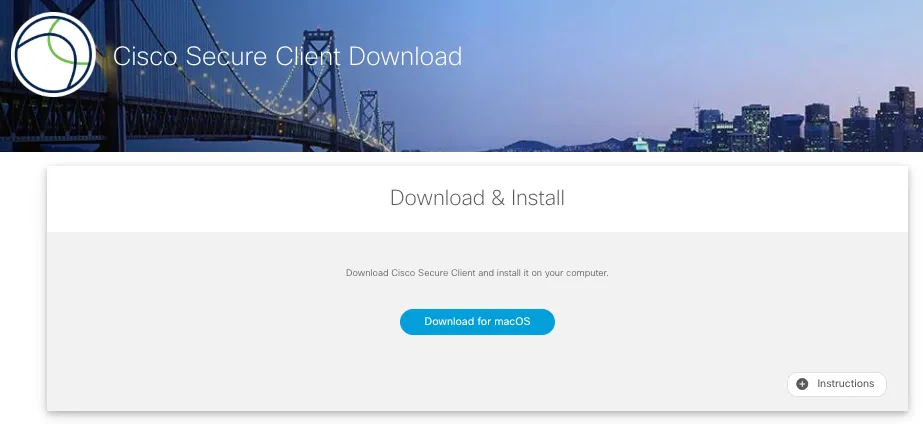
If you don’t have a Cisco Secure Client software on your PC, you can open the dCloud VPN url in a web browser and enter the credentials to connect to the web VPN, which will automatically take you to the download page for the Cisco Secure Client software for your operating system.
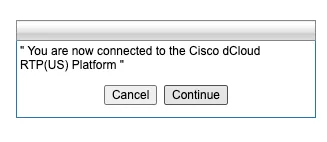
Click “Continue”
Click “Download for xxxx” to download the Cisco Secure Client software for your operating system and install it.
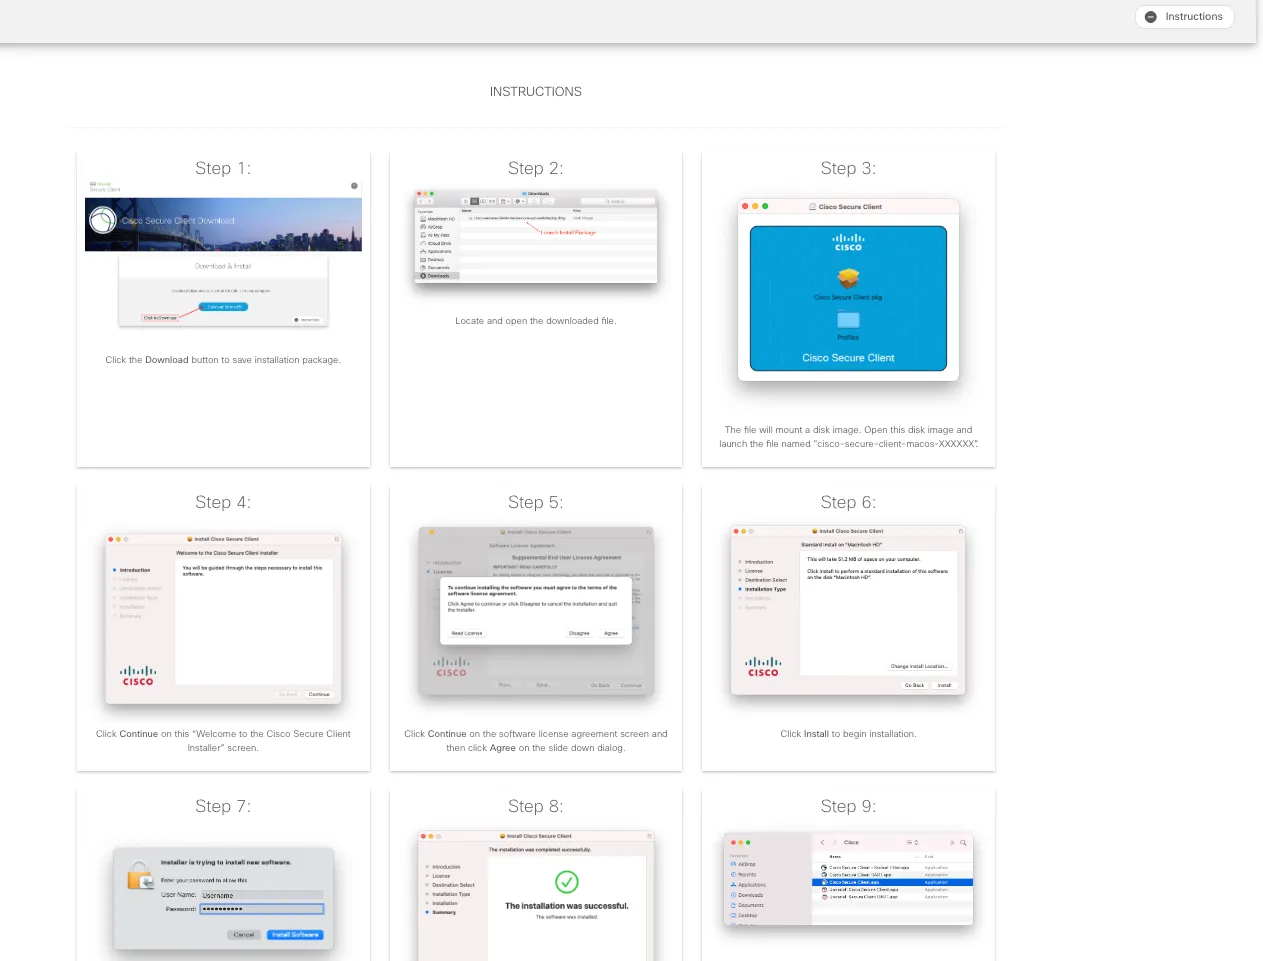
You may click on the “Instructions” button for more details on how to install and connect to the VPN.
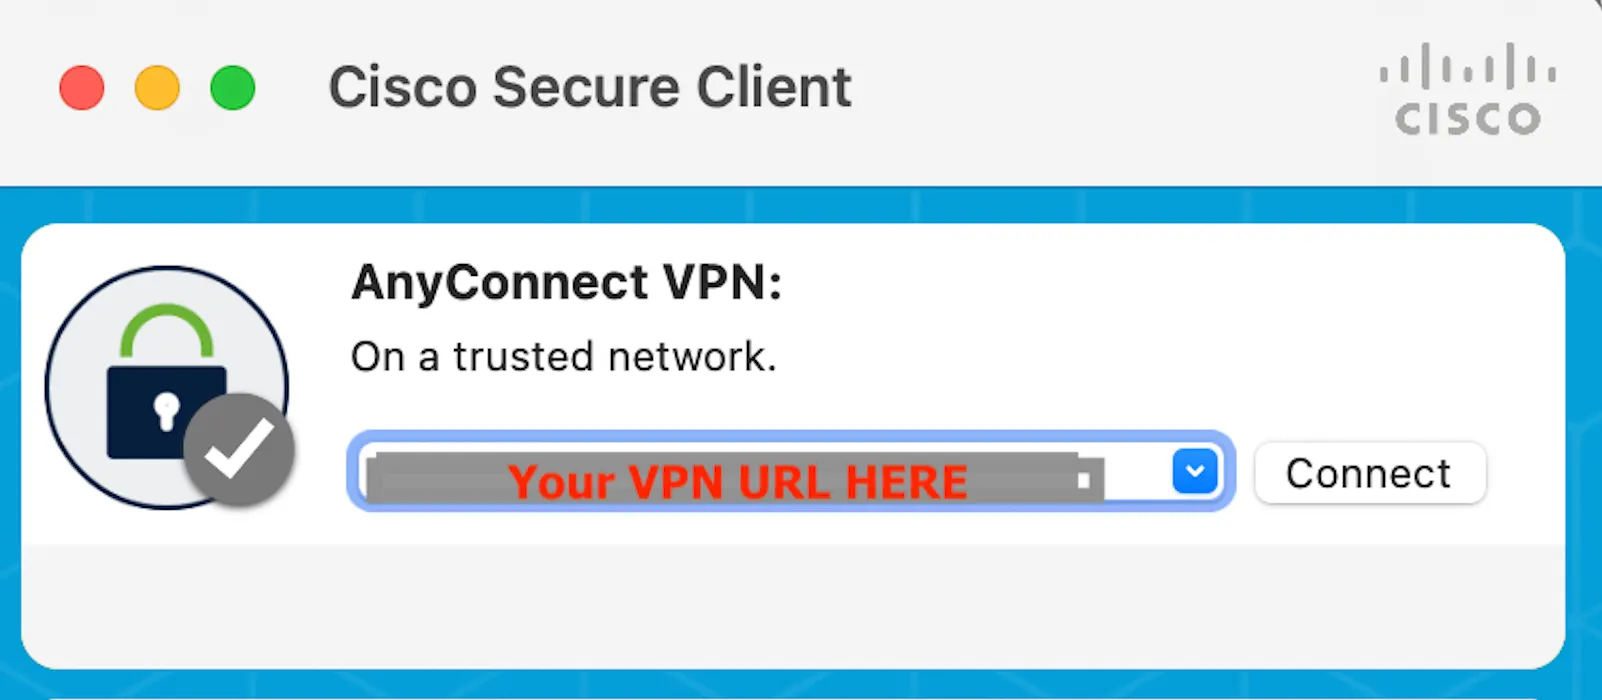
Launch Cisco Secure Client and connect to the VPN using the credentials provided in the dCloud lab details page.
4. Accessing the lab environment
Section titled “4. Accessing the lab environment”Once you are connected to the VPN, you can access the different components of the lab environment using the following details:
You need not access these yet, but these are the details you will need to access the different components of the lab environment when you need to use them.
| Component | Description | URL | Credential |
|---|---|---|---|
| Code Server | This is a web based version of Visual Studio Code that will be the central point for your development in this lab. It is pre-configured with the necessary tools and extensions to work with Network as Code. | Code Server | Password: C1sco12345 |
| GitLab | The GitLab instance is used to manage the code repositories for the Network as Code (NaC). This guide will touch on GitLab as a way to manage the code repositories for the Network as Code (NaC) in a way that would be used by network operators for Day-2 Infrastructure as Code operations and pipelines. If you are only interested in learning Network as Code to perform a deployment, you could skip this section. | GitLab | Username: labuserPassword: C1sco12345 |
| Meraki Dashboard | Cloud-managed controller used to apply and manage network configuration for Unified Branch. | Meraki Dashboard | Username: you created this alreadyPassword: you created this alreadyAPI Key: you created this already |