Task 2 - Prepare your environment
The best method to start working with Meraki as Code is to clone our example repository. This repository contains the proper directory structure and base files required.
In this section, you will clone the repository and then setup Meraki as Code. This includes setting the Python virtual environment, installing necessary packages, and configuring Terraform to work with the Meraki Dashboard.
Before we extract the example repository, we need to understand how the Network as Code repositories contains a series of TAGS to match the versions requirements. Why is this? Each release version of the capability is tied to specific versions of the components. In some releases, breaking changes are introduced that require different versions of specific packages. In the example repository, you can see the list of version tags that are available. As of this writing:
| TAGS | Date |
|---|---|
| v0.1 | March 2026 |
Using a tagged release ensures that all components — the Terraform module, provider, and example configuration — are a tested, compatible combination. The main branch may contain in-progress changes that have not been validated together. A Git tag is immutable: once created, it always points to the exact same commit, giving you a reliable and reproducible starting point.
Step 1: Open your Code Server IDE
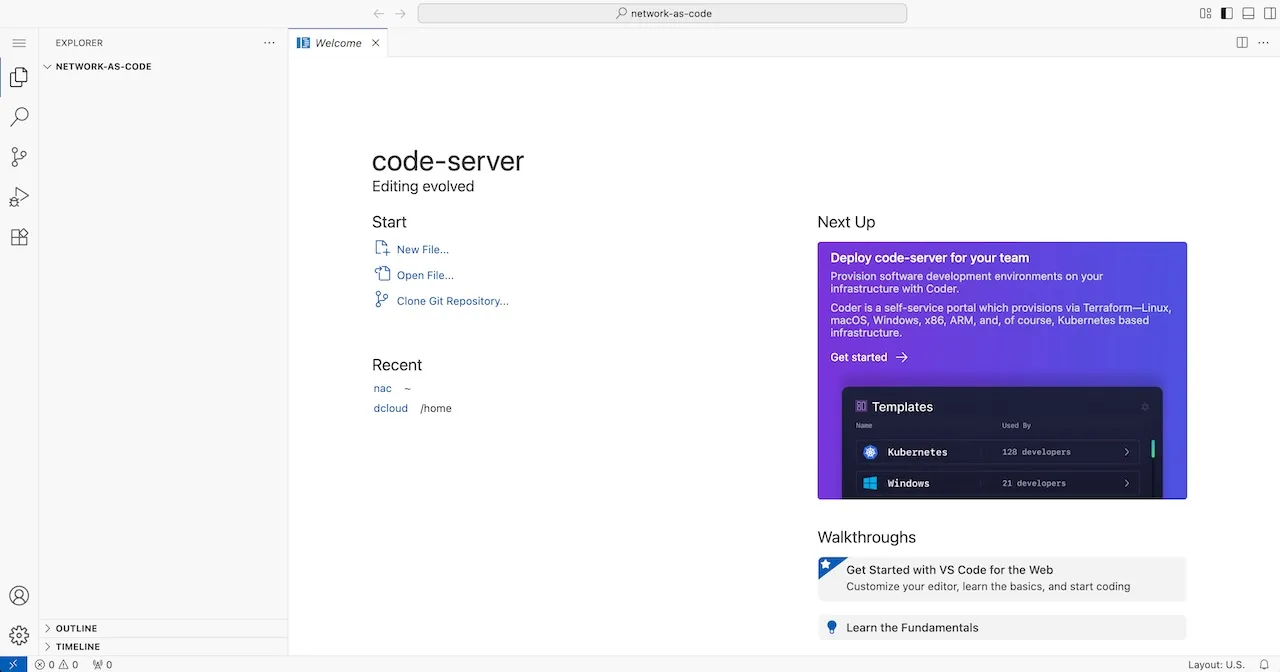
Section titled “Step 1: Open your Code Server IDE”From your browser, open the Code Server IDE using the following URL: Code Server
In this guide, we will use VS Code for demonstration purposes. All screenshots are from VS Code, but the steps are generally applicable to other editors as well.
Step 2: Open the terminal
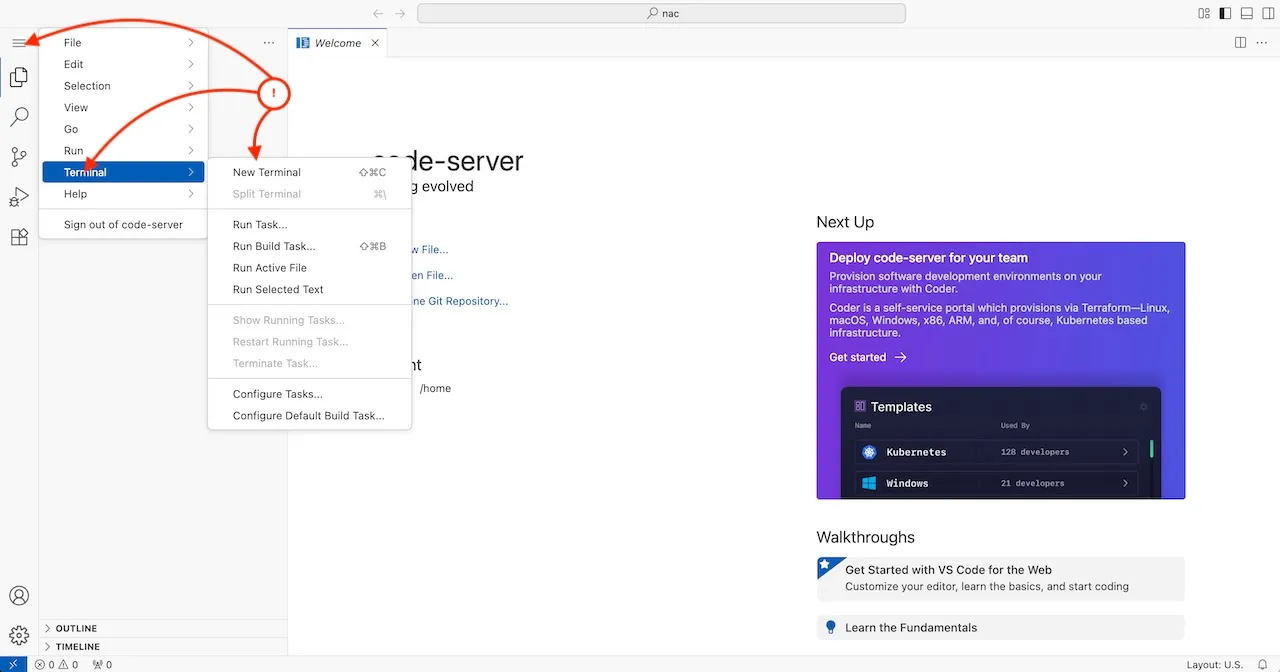
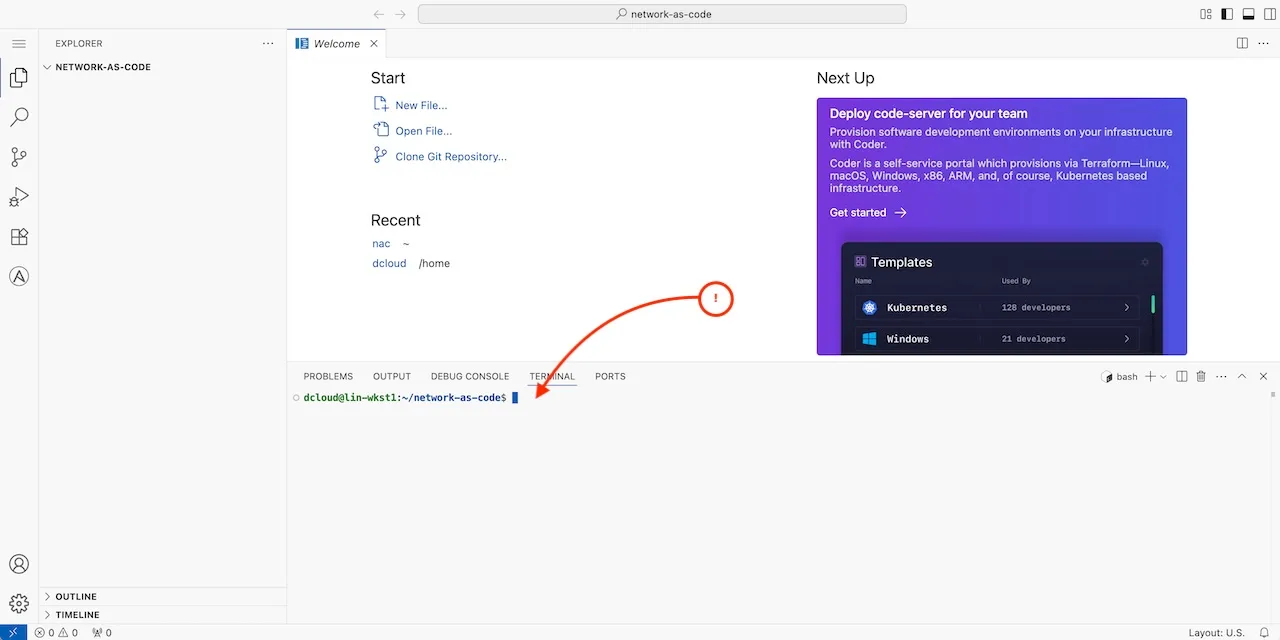
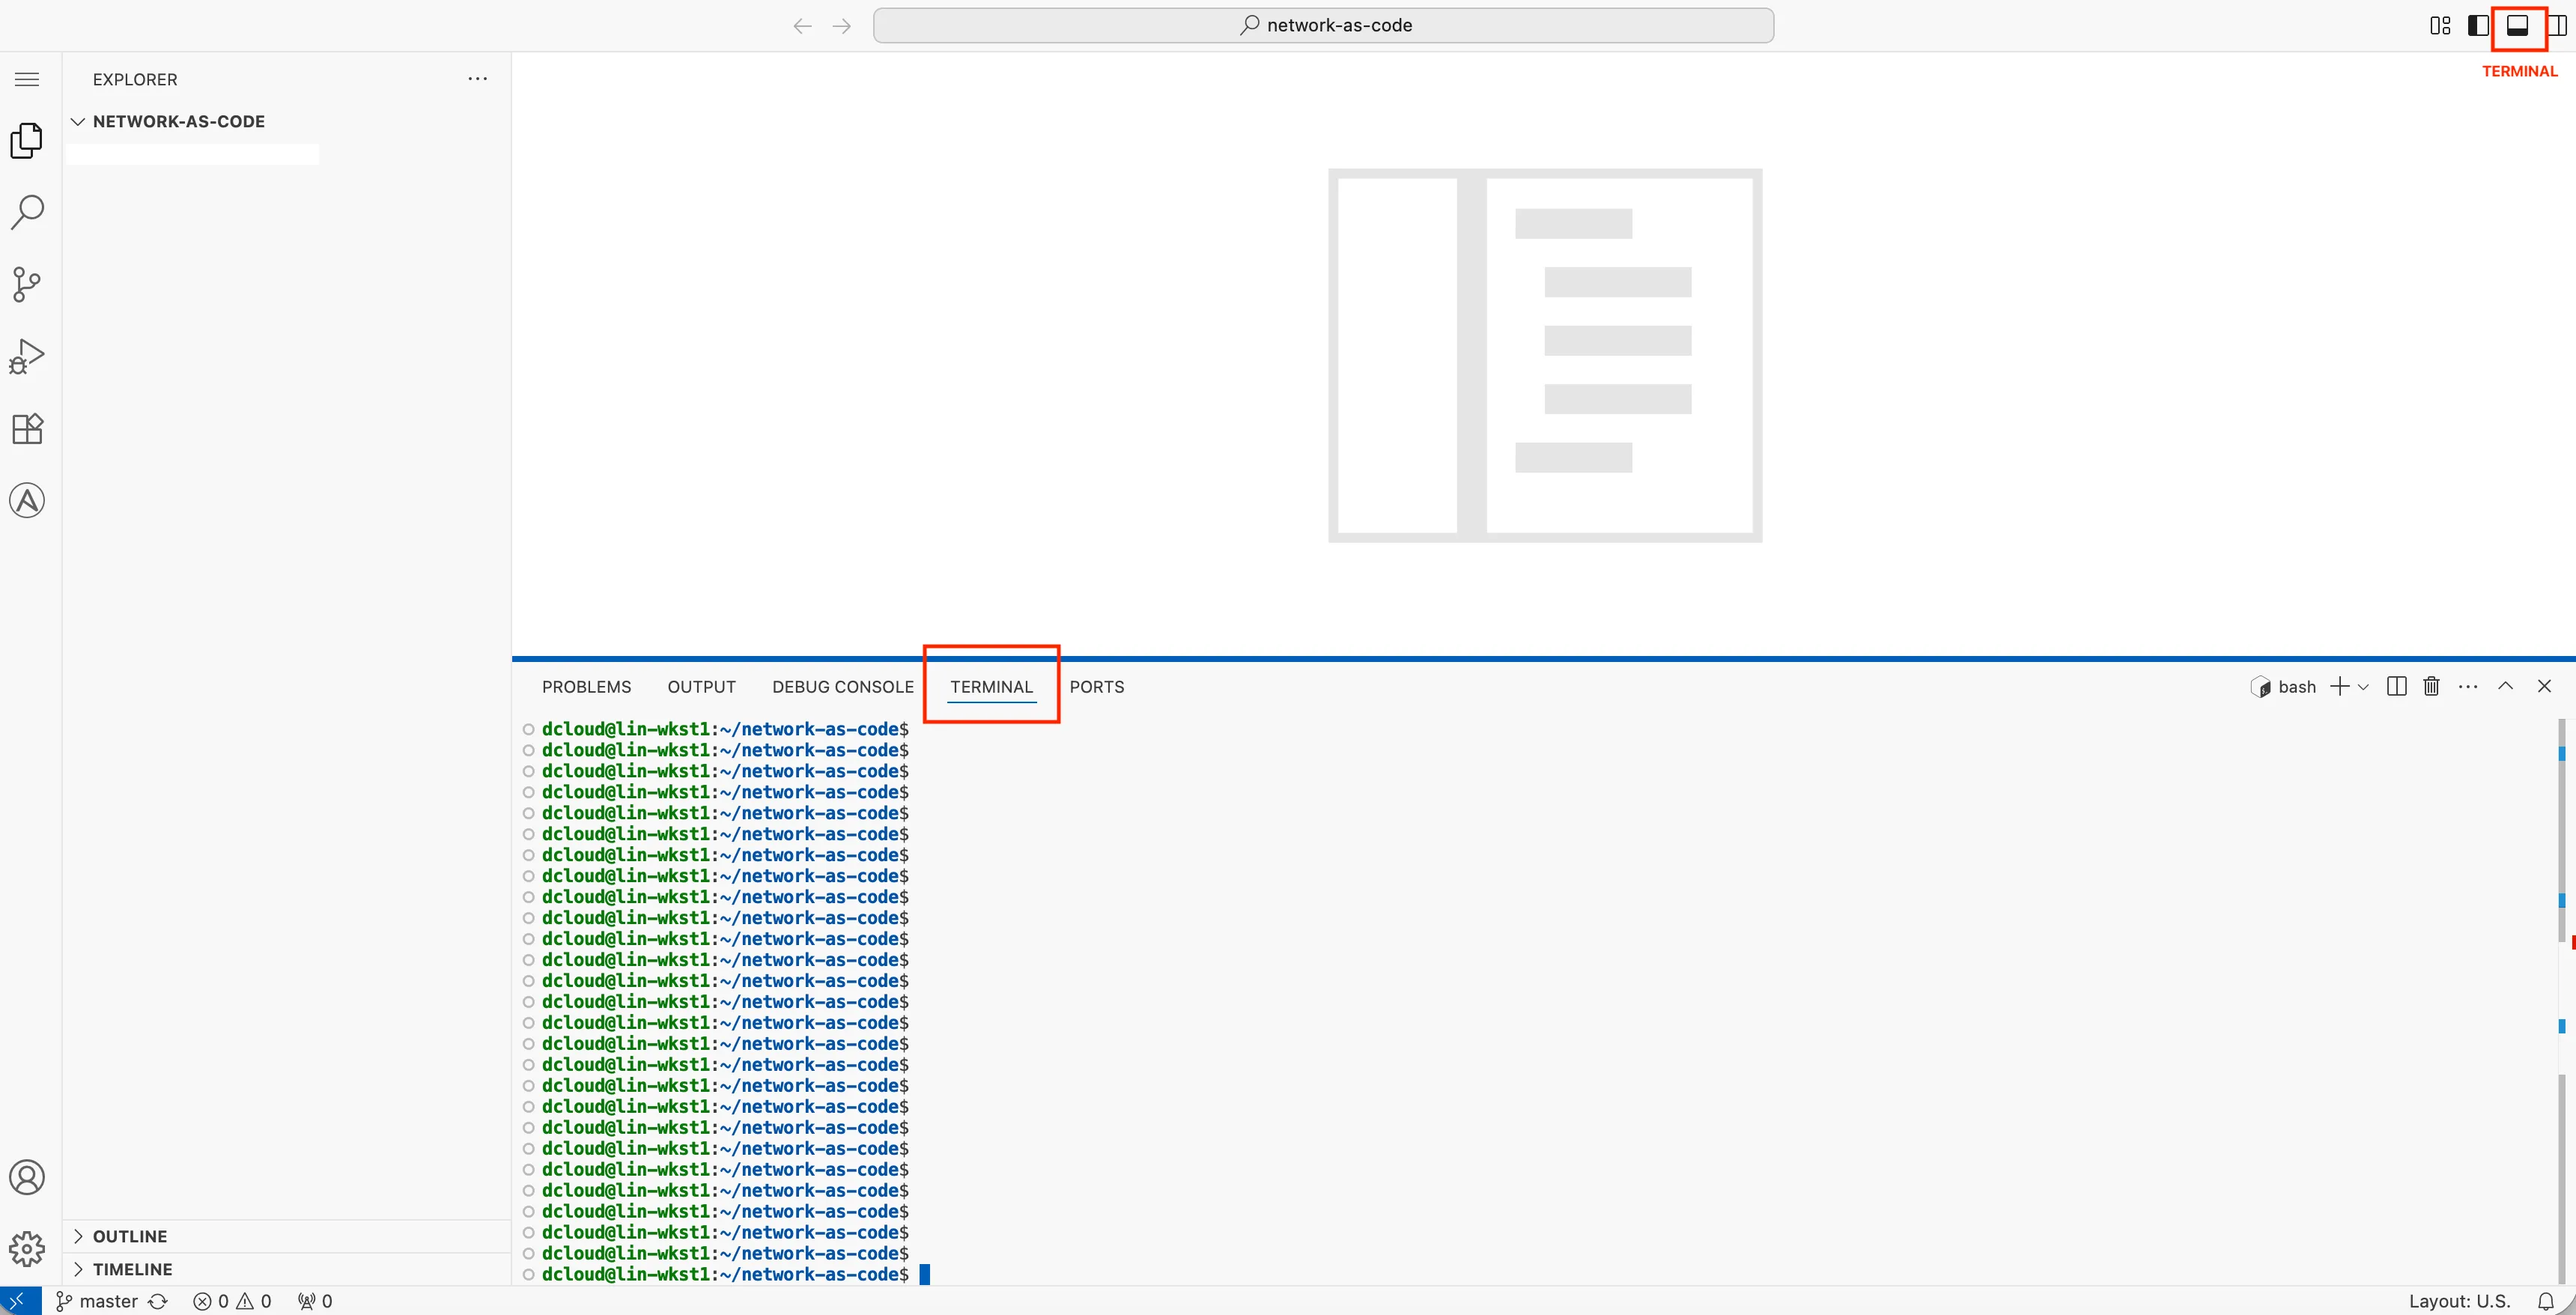
Section titled “Step 2: Open the terminal”To access the terminal, click on the menu icon on the top left and select “Terminal” > “New Terminal”. This will open a terminal window at the bottom of the Code Server interface.
Meraki as Code uses Terraform (or OpenTofu) as its core automation engine, alongside Python-based tools such as nac-validate and nac-test. This guide walks you through setting up an environment with all the required dependencies so you can run the full as-code workflow.
Step 3: Choose a working directory
Section titled “Step 3: Choose a working directory”For the execution of this lab we will start from network-as-code directory in your home directory.
pwdshould give you output similar to:
/home/dcloud/network-as-codeif you are not in the network-as-code directory, navigate to it using:
cd /home/dcloud/network-as-codeStep 4: Python Virtual Environment
Section titled “Step 4: Python Virtual Environment”Create a virtual environment named meraki-as-code using the Python version you installed. Then use pyenv activate to activate the virtual environment. This will ensure that any Python packages you install will be contained within this environment and won’t affect other Python projects on your system.
Verify Python Version Installed:
python --versionShould give you output:
The `python' command exists in these Python versions: 3.12.10Create and activate the virtual environment:
pyenv virtualenv 3.12.10 meraki-as-codepyenv activate meraki-as-codeNow you should see your meraki-as-code virtual environment activated:
(meraki-as-code) dcloud@lin-wkst1:~/network-as-code$Step 5: Update PIP
Section titled “Step 5: Update PIP”PIP is a package manager for Python that allows you to install and manage Python packages. It is recommended to update PIP to the latest version before installing any packages.
pip install --upgrade pipStep 6: Clone the example repository
Section titled “Step 6: Clone the example repository”The first step is to clone the example repository that contains the necessary files and configurations for Meraki as Code. Using the GIT command you will be doing a clone of the example repository into a directory named meraki-as-code in your network-as-code home directory.
We will specifically clone the tag v0.1
cd ~/network-as-codegit clone --branch v0.1 --depth 1 https://github.com/netascode/nac-meraki-example meraki-as-codeOnce completed you should be able to see the structure inside of the IDE.
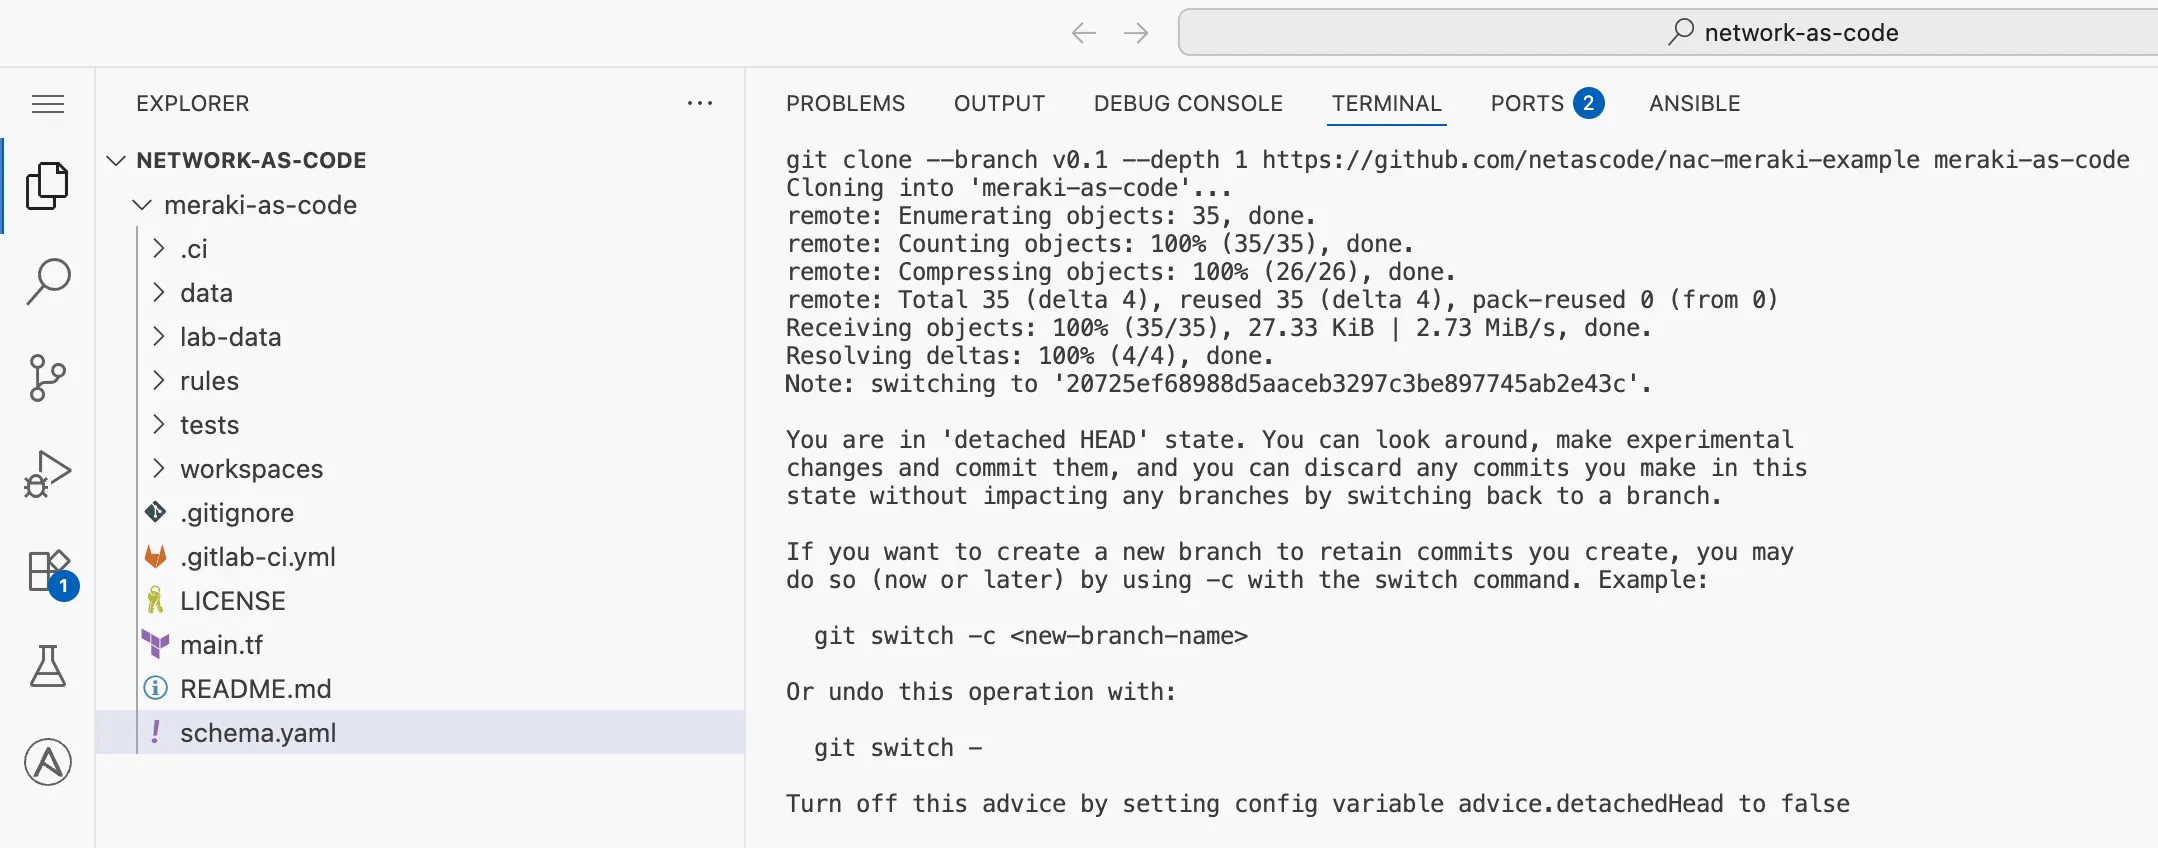
Step 7: Remove the .git directory
Section titled “Step 7: Remove the .git directory”After cloning the repository, you will need to remove the .git directory. This is because you will be using this repository as a starting point for your own Meraki as Code project. We provide these example repositories as “starting points”, but you will not be using this repository for yourself. When you delete the .git directory, you will no longer be able to use GIT commands to manage the repository until the repository has been initialized again, which you will do later in this guide.
switch to the cloned directory and list files.
cd meraki-as-code/ls -laYou should see directory as below
(meraki-as-code) dcloud@lin-wkst1:~/network-as-code$ cd meraki-as-code/(meraki-as-code) dcloud@lin-wkst1:~/network-as-code/meraki-as-code$ ls -latotal 72drwxr-xr-x 8 dcloud dcloud 4096 Mar 6 07:13 .drwxrwxr-x 3 dcloud dcloud 4096 Mar 6 07:13 ..drwxr-xr-x 2 dcloud dcloud 4096 Mar 6 07:13 .cidrwxr-xr-x 2 dcloud dcloud 4096 Mar 6 07:13 datadrwxr-xr-x 8 dcloud dcloud 4096 Mar 6 07:13 .git >>>> to be deleted-rw-r--r-- 1 dcloud dcloud 321 Mar 6 07:13 .gitignore-rw-r--r-- 1 dcloud dcloud 9875 Mar 6 07:13 .gitlab-ci.ymldrwxr-xr-x 2 dcloud dcloud 4096 Mar 6 07:13 lab-data-rw-r--r-- 1 dcloud dcloud 11357 Mar 6 07:13 LICENSE-rw-r--r-- 1 dcloud dcloud 204 Mar 6 07:13 main.tf-rw-r--r-- 1 dcloud dcloud 54 Mar 6 07:13 README.mddrwxr-xr-x 2 dcloud dcloud 4096 Mar 6 07:13 rules-rw-r--r-- 1 dcloud dcloud 2187 Mar 6 07:13 schema.yamldrwxr-xr-x 3 dcloud dcloud 4096 Mar 6 07:13 testsdrwxr-xr-x 2 dcloud dcloud 4096 Mar 6 07:13 workspaces(meraki-as-code) dcloud@lin-wkst1:~/network-as-code/meraki-as-code$Run the below command to remove the .git
cd ~/network-as-code/meraki-as-coderm -rf .gitStep 8: Verify Terraform Installation
Section titled “Step 8: Verify Terraform Installation”Terraform is shipped as a single binary file and has no external dependencies. In this lab, Terraform comes pre-installed. Confirm it is available by checking the version:
terraform -vIf you see a version number, Terraform is ready to use. Do not worry about the Terraform version in this lab.
Terraform v1.13.4on linux_amd64+ provider registry.terraform.io/ciscodevnet/meraki v1.9.0+ provider registry.terraform.io/hashicorp/local v2.7.0+ provider registry.terraform.io/netascode/utils v1.0.2
Your version of Terraform is out of date! The latest versionis 1.14.7. You can update by downloading from https://developer.hashicorp.com/terraform/install
Step 9: Install nac testing and validating packages
Section titled “Step 9: Install nac testing and validating packages”In addition we must also install the two packages part of Network as Code for testing and validation.
nac-validatenac-test
Run the pip commands as below
pip install nac-validatepip install nac-testStep 10: Understanding the file structure
Section titled “Step 10: Understanding the file structure”Let us do a quick recap of the file structure of the repository, as this will be important for you to understand as you start working with the code. The file structure is designed to be simple and intuitive, but it is important to understand the purpose of each file and directory.
meraki-as-code/├── .ci/ # CI/CD helper scripts (GitLab comments, Webex notifications)├── data/ # Your YAML data model files go here (empty by default)├── lab-data/ # Pre-built YAML files for each lab exercise step│ ├── 01_create_org.nac.yaml│ ├── 02_configure_network.nac.yaml│ ├── 03_add_wireless.nac.yaml│ ├── 04_switch_settings.nac.yaml│ ├── 05_add_firewall_sdwan_settings.nac.yaml│ ├── 06_scale_network.nac.yaml│ ├── 08_branch_variables.nac.yaml│ └── 08_templates.nac.yaml├── rules/ # Custom nac-validate Python rules├── workspaces/ # Separate Terraform workspace for template rendering├── tests/ # Templates for Post change testing├── .gitlab-ci.yml # GitLab CI/CD pipeline definition├── main.tf # Root Terraform configuration (references the NaC Meraki module)└── schema.yaml # YAML schema for data model validationStep 11: Set environment variables
Section titled “Step 11: Set environment variables”Environment variables are key-value pairs set in your shell session that allow tools like Terraform to read configuration values — such as API keys, organization IDs and secrets — at runtime without hardcoding them into your files.
To set the environment variables, you will need to create a .env file in the root of the cloned repository. This file will contain the necessary environment variables for connecting to the Meraki Dashboard and executing the automation. This file is not committed to the repository, so you will need to create it manually. It is also ignored by git on purpose to ensure that you don’t accidentally commit sensitive information.
The variables used by the automation are created in the .env file and then loaded into your shell session.
Create a file named .env in the root of the cloned repository. Run the following command.
cd ~/network-as-code/meraki-as-codecode-server .envIn the opened file you will add the following content:
export secret_password="C1sco12345!!66"export MERAKI_API_KEY=<add your own API key here>export org_email=demouser@example.comThe secret_password variable is used for the lab exercises, and you can keep the sample values or change them as you see fit.
Leave the org_email as it is, you should not use the same email that was used to create MERAKI_API_KEY. If you have additional email, you may use.
As you can see, the MERAKI_API_KEY variable is where you will add your own API key. You already have the API key from the previous steps, so you can copy and paste them into the file.
Then save the file.
Once the file is saved, load the environment variables into your current shell session by running:
source .envThis reads the .env file and exports each variable so that Terraform and other tools can access them for the remainder of your session.