Pipelines with NaC for SDWAN
This guide demonstrates how to implement a working CI/CD pipeline for your Network as Code SD-WAN project using GitLab. Building on the concepts from Understanding Pipelines, we’ll transform your existing workspace into a production-ready, version-controlled project with automated validation, deployment, and testing capabilities.
Why Implement CI/CD for Network Operations?
Section titled “Why Implement CI/CD for Network Operations?”In the previous section, you learned about the theoretical benefits of automation pipelines for network operations. Now we’ll put those concepts into practice. By the end of this section, you’ll have:
- Automated Validation: Every configuration change will be automatically validated against schema and business rules using
nac-validate - Controlled Deployment: Changes will only deploy after passing all validation checks and utilizing Terraform’s planning capabilities
- Comprehensive Testing: Post-deployment testing will verify that your intended configuration matches the actual SD-WAN Manager state using
iac-test - Complete Auditability: Every change, test result, and deployment will be tracked and documented in GitLab
This practical implementation bridges the gap between traditional network change management and modern Infrastructure as Code practices for SD-WAN.
Pre-requisites
Section titled “Pre-requisites”Before implementing the CI/CD pipeline, ensure you have:
- Access to GitLab server with GitLab Runner already pre-registered
- Basic to Intermediate understanding of Terraform SD-WAN
- Access to SD-WAN Manager (vManage) environment
- Your SD-WAN data model repository ready for pipeline integration
Lab Environment Overview
Section titled “Lab Environment Overview”Each Lab pod operates as a self-contained environment consisting of:
- CAF VM: Hosting the required software components (Git, Containers, Robot, CI/CD Platform, etc.)
- CML: Running the SD-WAN topology
- GitLab: Version control and CI/CD platform
- SD-WAN Manager (vManage): Central management for SD-WAN fabric
- Workstation: Development environment with VSCode
Access Information
Section titled “Access Information”| Component | URL | Credentials |
|---|---|---|
| GitLab | https://gitlab.198.18.133.103.nip.io/ | Username: labuser, Password: C1sco12345 |
| SD-WAN Manager | https://198.18.133.100 | Username: sdwan, Password: C1sco12345 |
Preparing Your Local Repository
Section titled “Preparing Your Local Repository”Before creating the GitLab project and configuring CI/CD pipelines, you need to prepare your local SD-WAN repository with the proper Terraform backend configuration and Git setup.
Understanding Git and GitLab in Network Operations Context
Section titled “Understanding Git and GitLab in Network Operations Context”Before diving into the setup, it’s important to understand why we’re using Git and GitLab for SD-WAN configuration management:
Git provides version control - the ability to track every change to your SD-WAN configuration over time. This means you can:
- See exactly what changed between any two versions of your network state
- Rollback to previous configurations if needed
- Collaborate with team members without conflicts
- Maintain a complete audit trail of all network changes
GitLab provides the CI/CD platform that automates our pipeline processes:
- Automatically validates configuration changes before they’re applied
- Provides controlled deployment workflows with approval gates
- Runs comprehensive testing after deployments
- Maintains artifacts and reports for compliance and troubleshooting
This combination transforms SD-WAN operations from manual, error-prone processes to automated, reliable workflows.
Step 1: Configure Terraform Backend for GitLab Integration
Section titled “Step 1: Configure Terraform Backend for GitLab Integration”Before pushing your code to GitLab, you need to configure your Terraform backend to use GitLab’s HTTP backend for state management. This ensures your Terraform state will be stored securely in GitLab rather than locally.
Update your main.tf file to use GitLab as the Terraform backend:
terraform {  backend "http" {    skip_cert_verification = true  }
  required_providers {    sdwan = {      source  = "ciscodevnet/sdwan"      version = ">= 0.2.8"    }  }}
Why This Configuration Matters:
- Centralized State: Your Terraform state will be stored in GitLab, making it accessible to CI/CD pipelines
- State Locking: GitLab provides automatic state locking to prevent concurrent modifications
- Security: State files are protected by GitLab’s access controls
- Backup: State is automatically backed up with your GitLab project
Step 2: Initialize Git Repository (If Not Already Done)
Section titled “Step 2: Initialize Git Repository (If Not Already Done)”If your SD-WAN workspace in code server is not already a Git repository, initialize it and configure your user details:
cd ~/network-as-code/nac-sdwan/git init --initial-branch=maingit config --global user.name "labuser"git config --global user.email "labuser@example.com"Add and commit your SD-WAN configuration files with the updated backend:
git add .git commit -m "Initial SD-WAN configuration with GitLab backend"Creating GitLab Project
Section titled “Creating GitLab Project”Now that your local repository is prepared with the proper backend configuration, you’ll create a GitLab project to host your code and manage the CI/CD pipeline.
Step 3: Login to GitLab Instance
Section titled “Step 3: Login to GitLab Instance”Before you can use version control and create CI/CD pipelines, you need a remote repository to store your code and manage collaboration. So we are going to create a GitLab project. This provides:
- A central place to store and back up your code
- Collaboration features for teams
- Integration with GitLab CI/CD to automate configuration validation, deployment, and testing
- Visibility and history of all changes made to your project
Access the GitLab server using the credentials from the access table above.
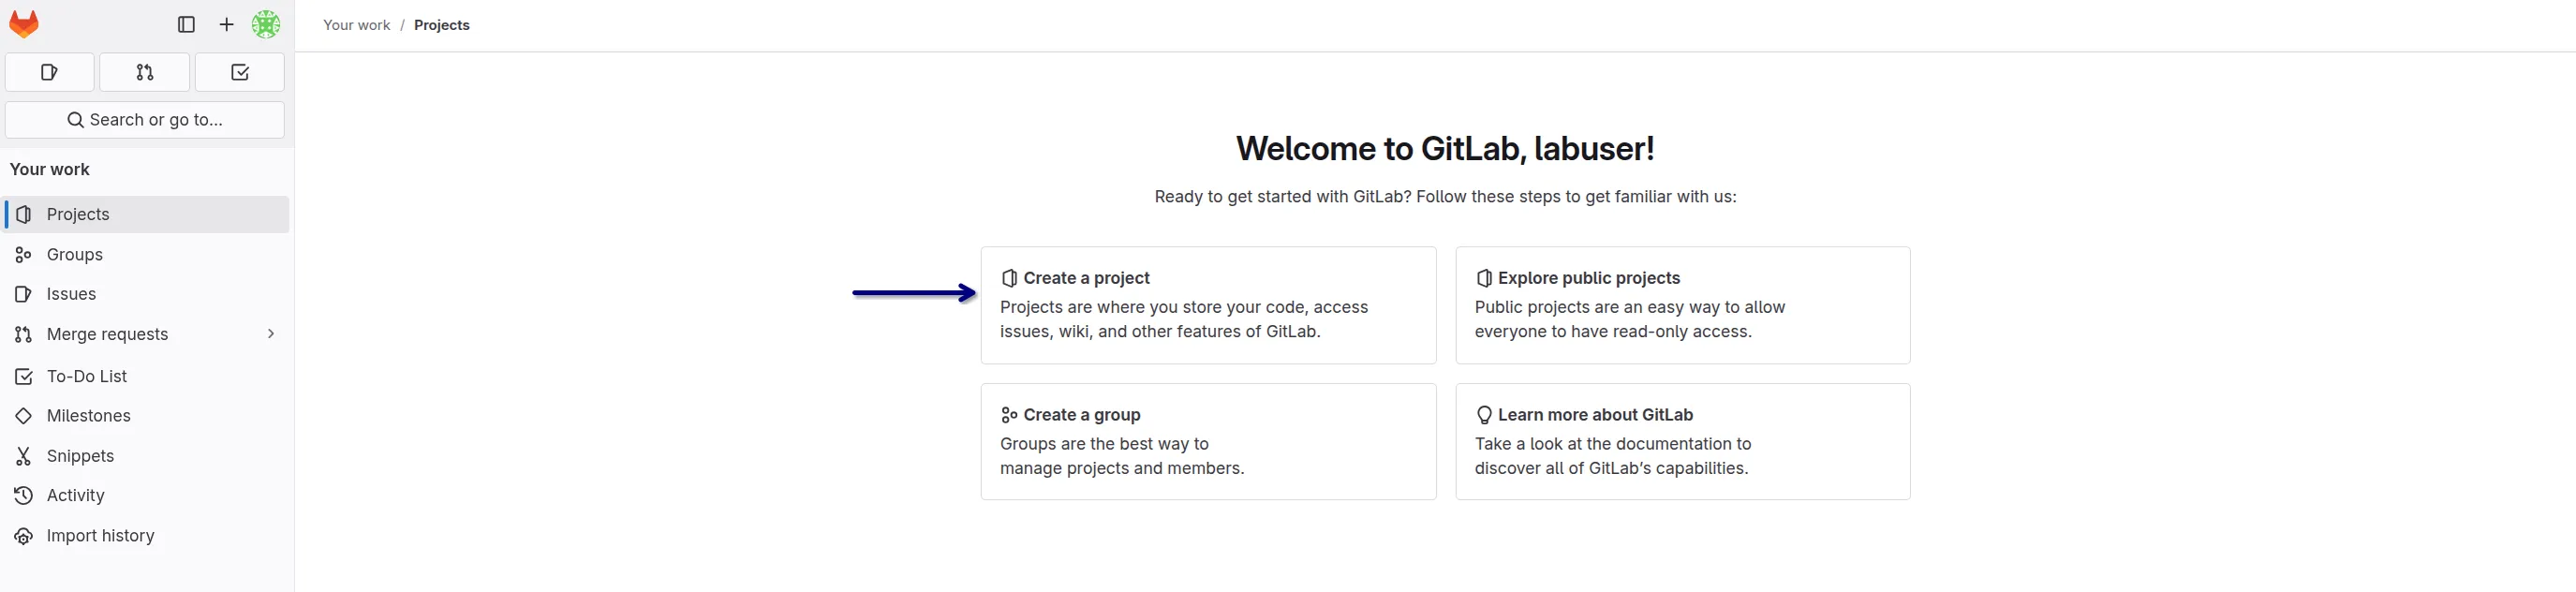
Step 4: Create a New GitLab Project
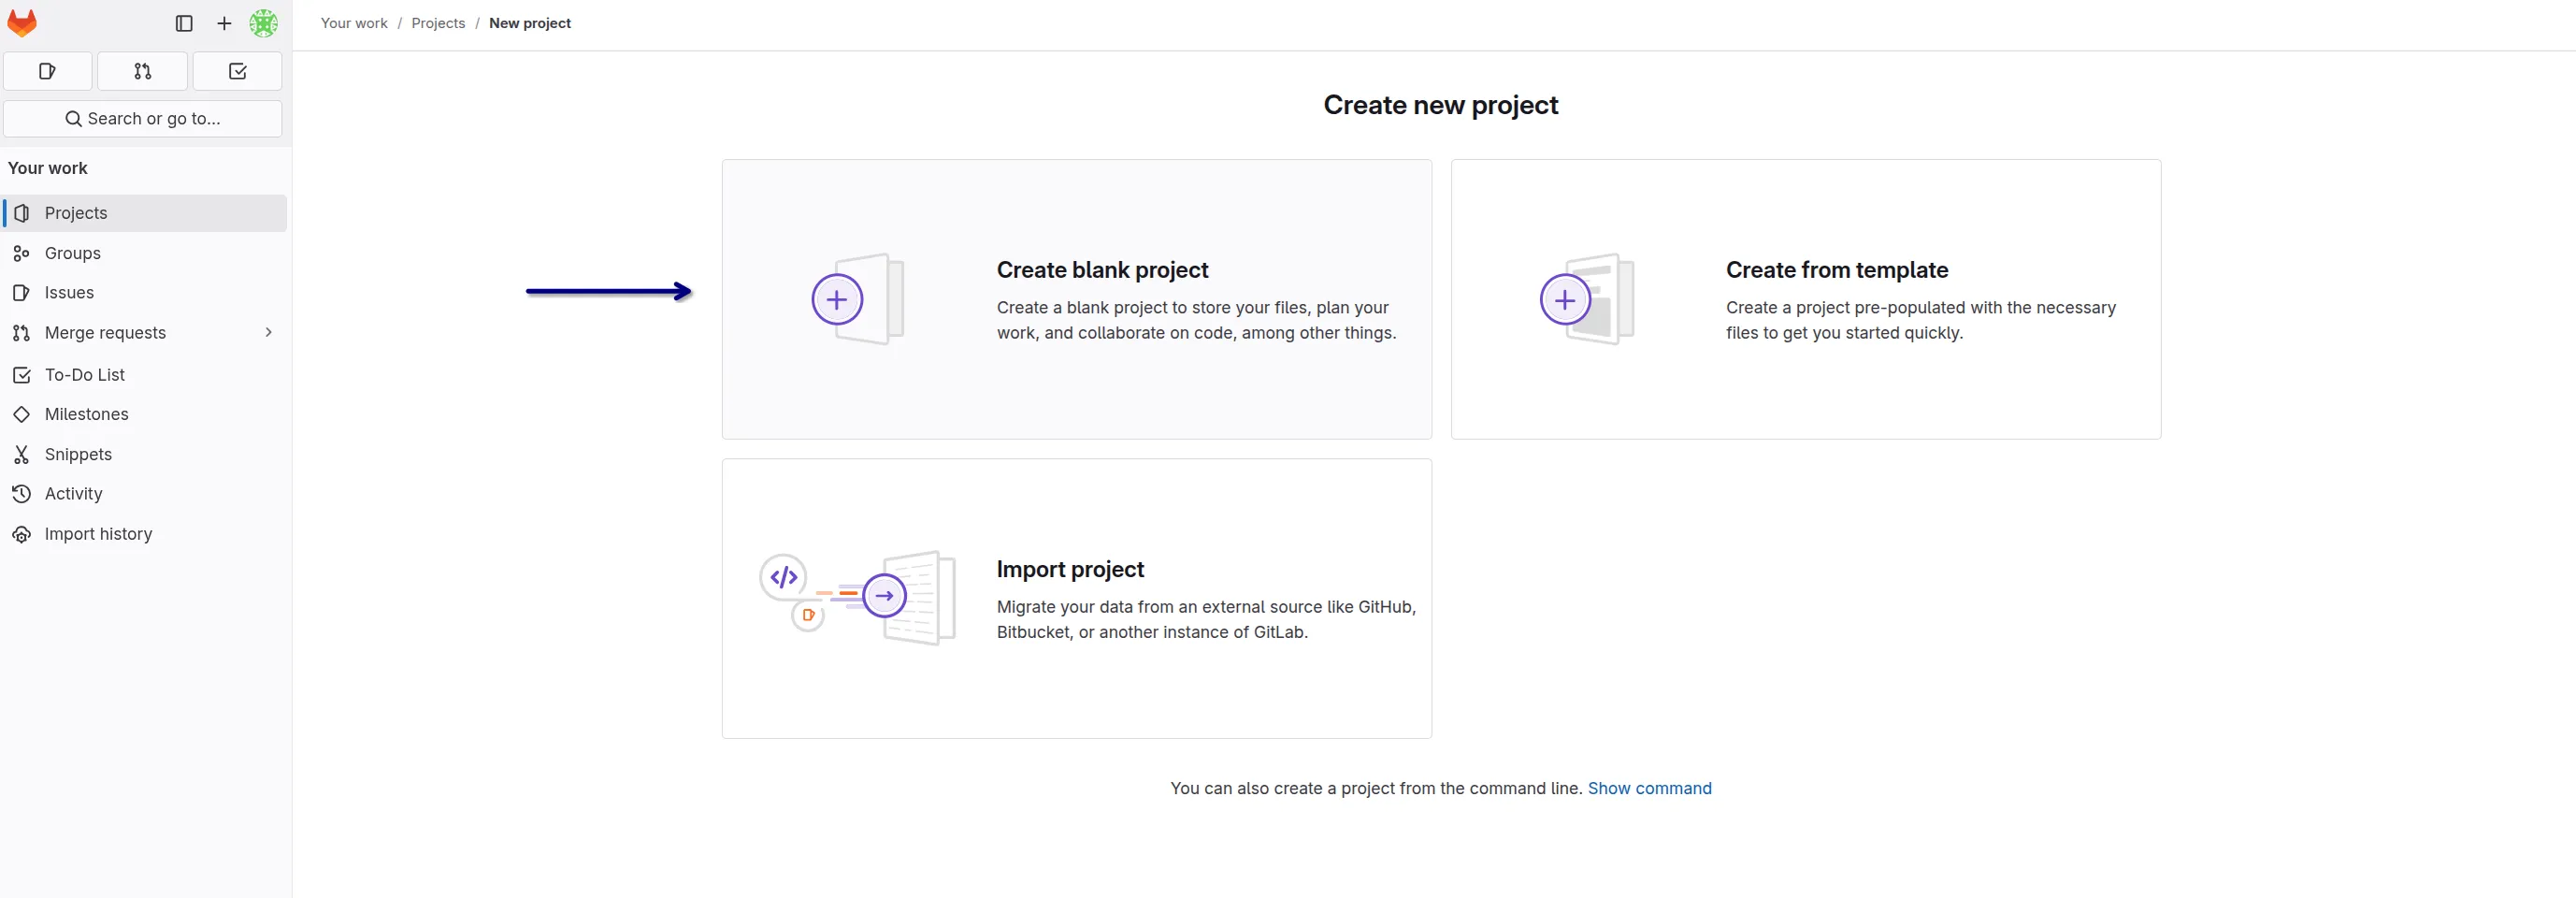
Section titled “Step 4: Create a New GitLab Project”After you have logged into GitLab you will create a new project.
- Click Create a project to start a new project
- Choose Create blank project to start with an empty repository. This is ideal for our use case where we will push existing code from your workspace.
- Enter the project name (e.g.,
nac-sdwan) - Set visibility to Private (to restrict access to your project to only you and authorized users)
- Uncheck the Initialize repository with a README option (since you will push your existing code)
- Click Create project to finalize the project creation.
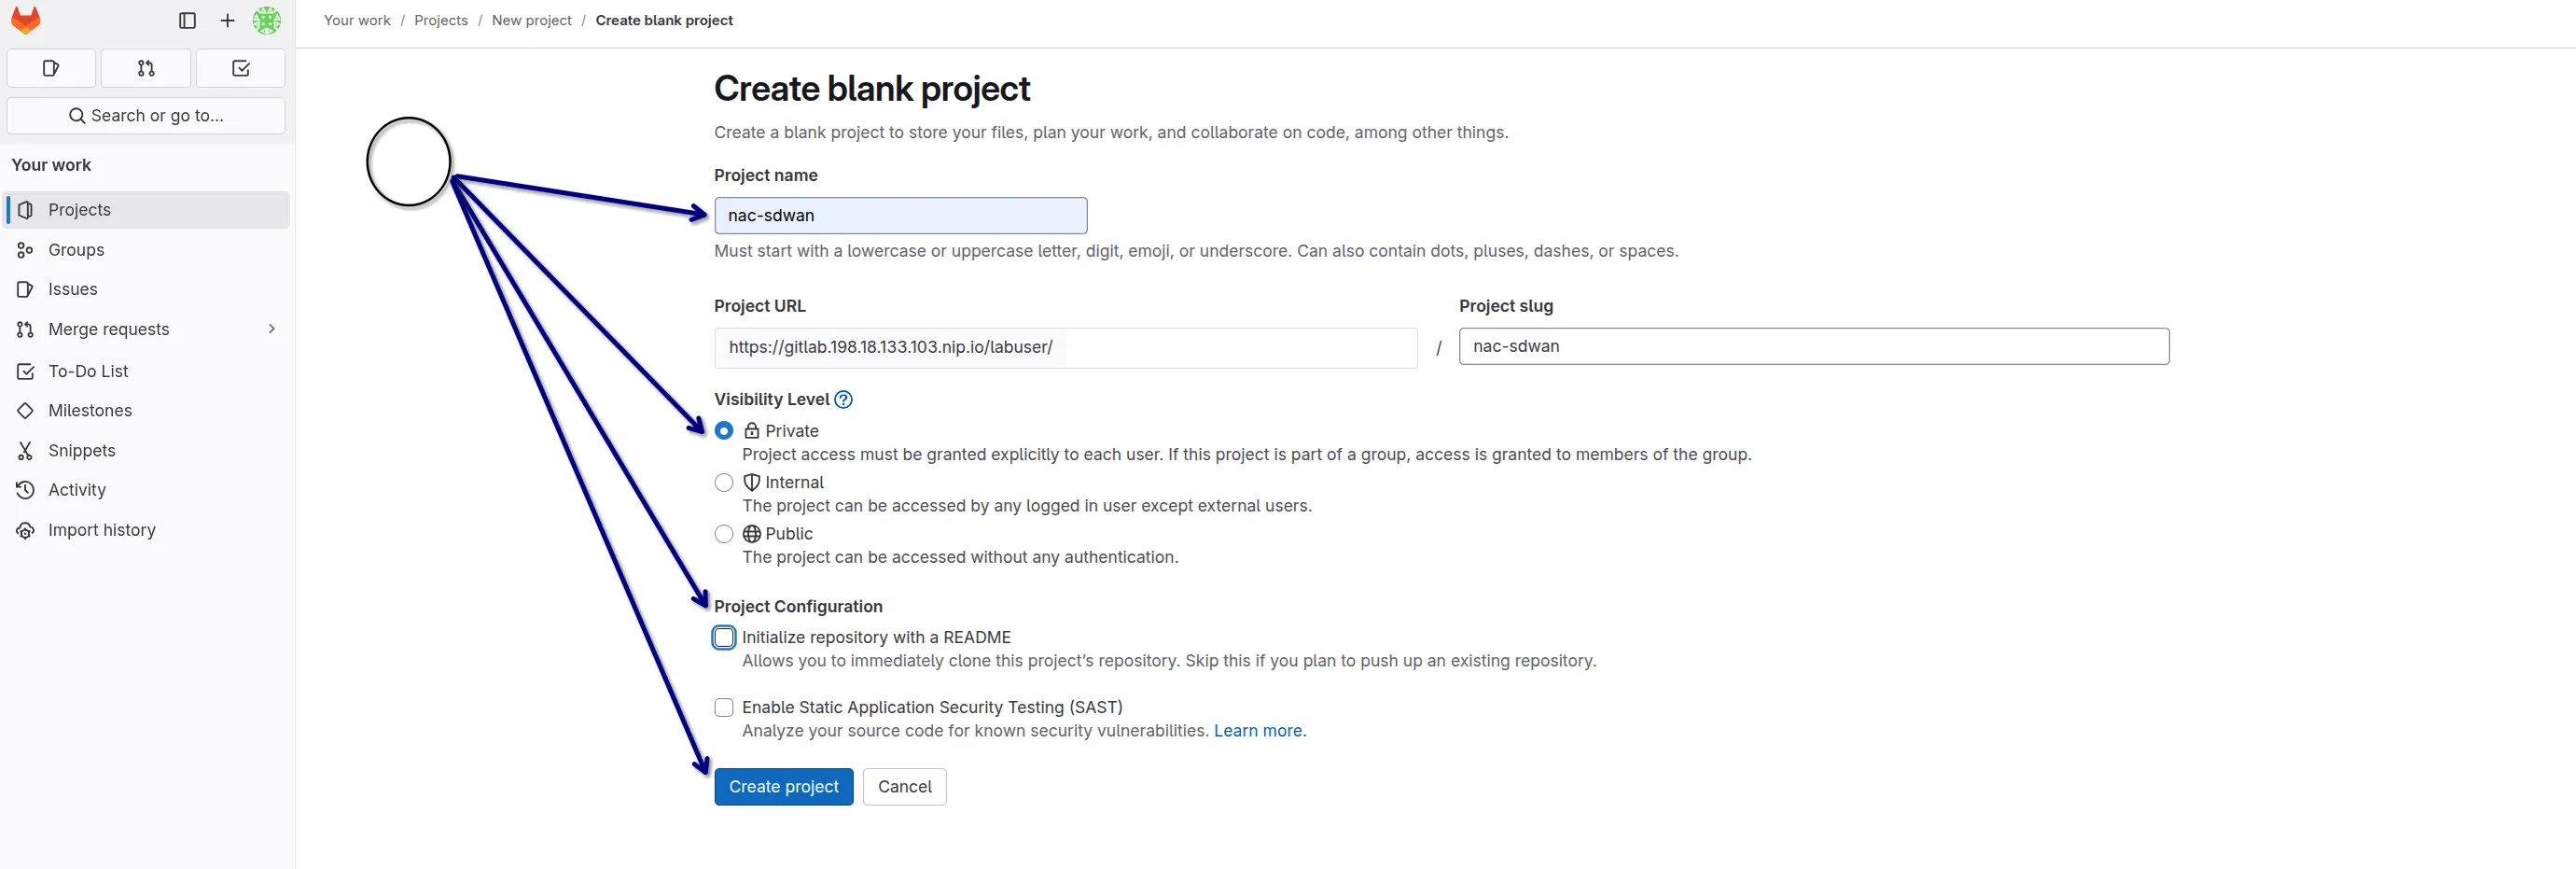
You should see an empty project page with instructions to push existing code. This is where you will connect your workspace to this new GitLab project.
Step 5: Connect Local Repository to GitLab
Section titled “Step 5: Connect Local Repository to GitLab”Now that your GitLab project is created, connect your local repository to GitLab and push your code:
Add your GitLab project as the remote repository (replace with your actual GitLab project URL):
git remote add origin https://gitlab.198.18.133.103.nip.io/labuser/nac-sdwan.gitPush your SD-WAN configuration files to GitLab:
git -c http.sslVerify=false push --set-upstream origin mainYou will be prompted to enter your GitLab username and password.
Note: The
-c http.sslVerify=falseflag is required for lab environments with self-signed certificates. Never use this in production.
Step 6: Verify GitLab Integration
Section titled “Step 6: Verify GitLab Integration”Navigate to your GitLab project in the browser to confirm all files are present. If your workspace already contains a .gitlab-ci.yml file, the pipeline may trigger automatically when you push. This first pipeline will likely fail because the CI/CD variables are not configured yet - this is normal and expected.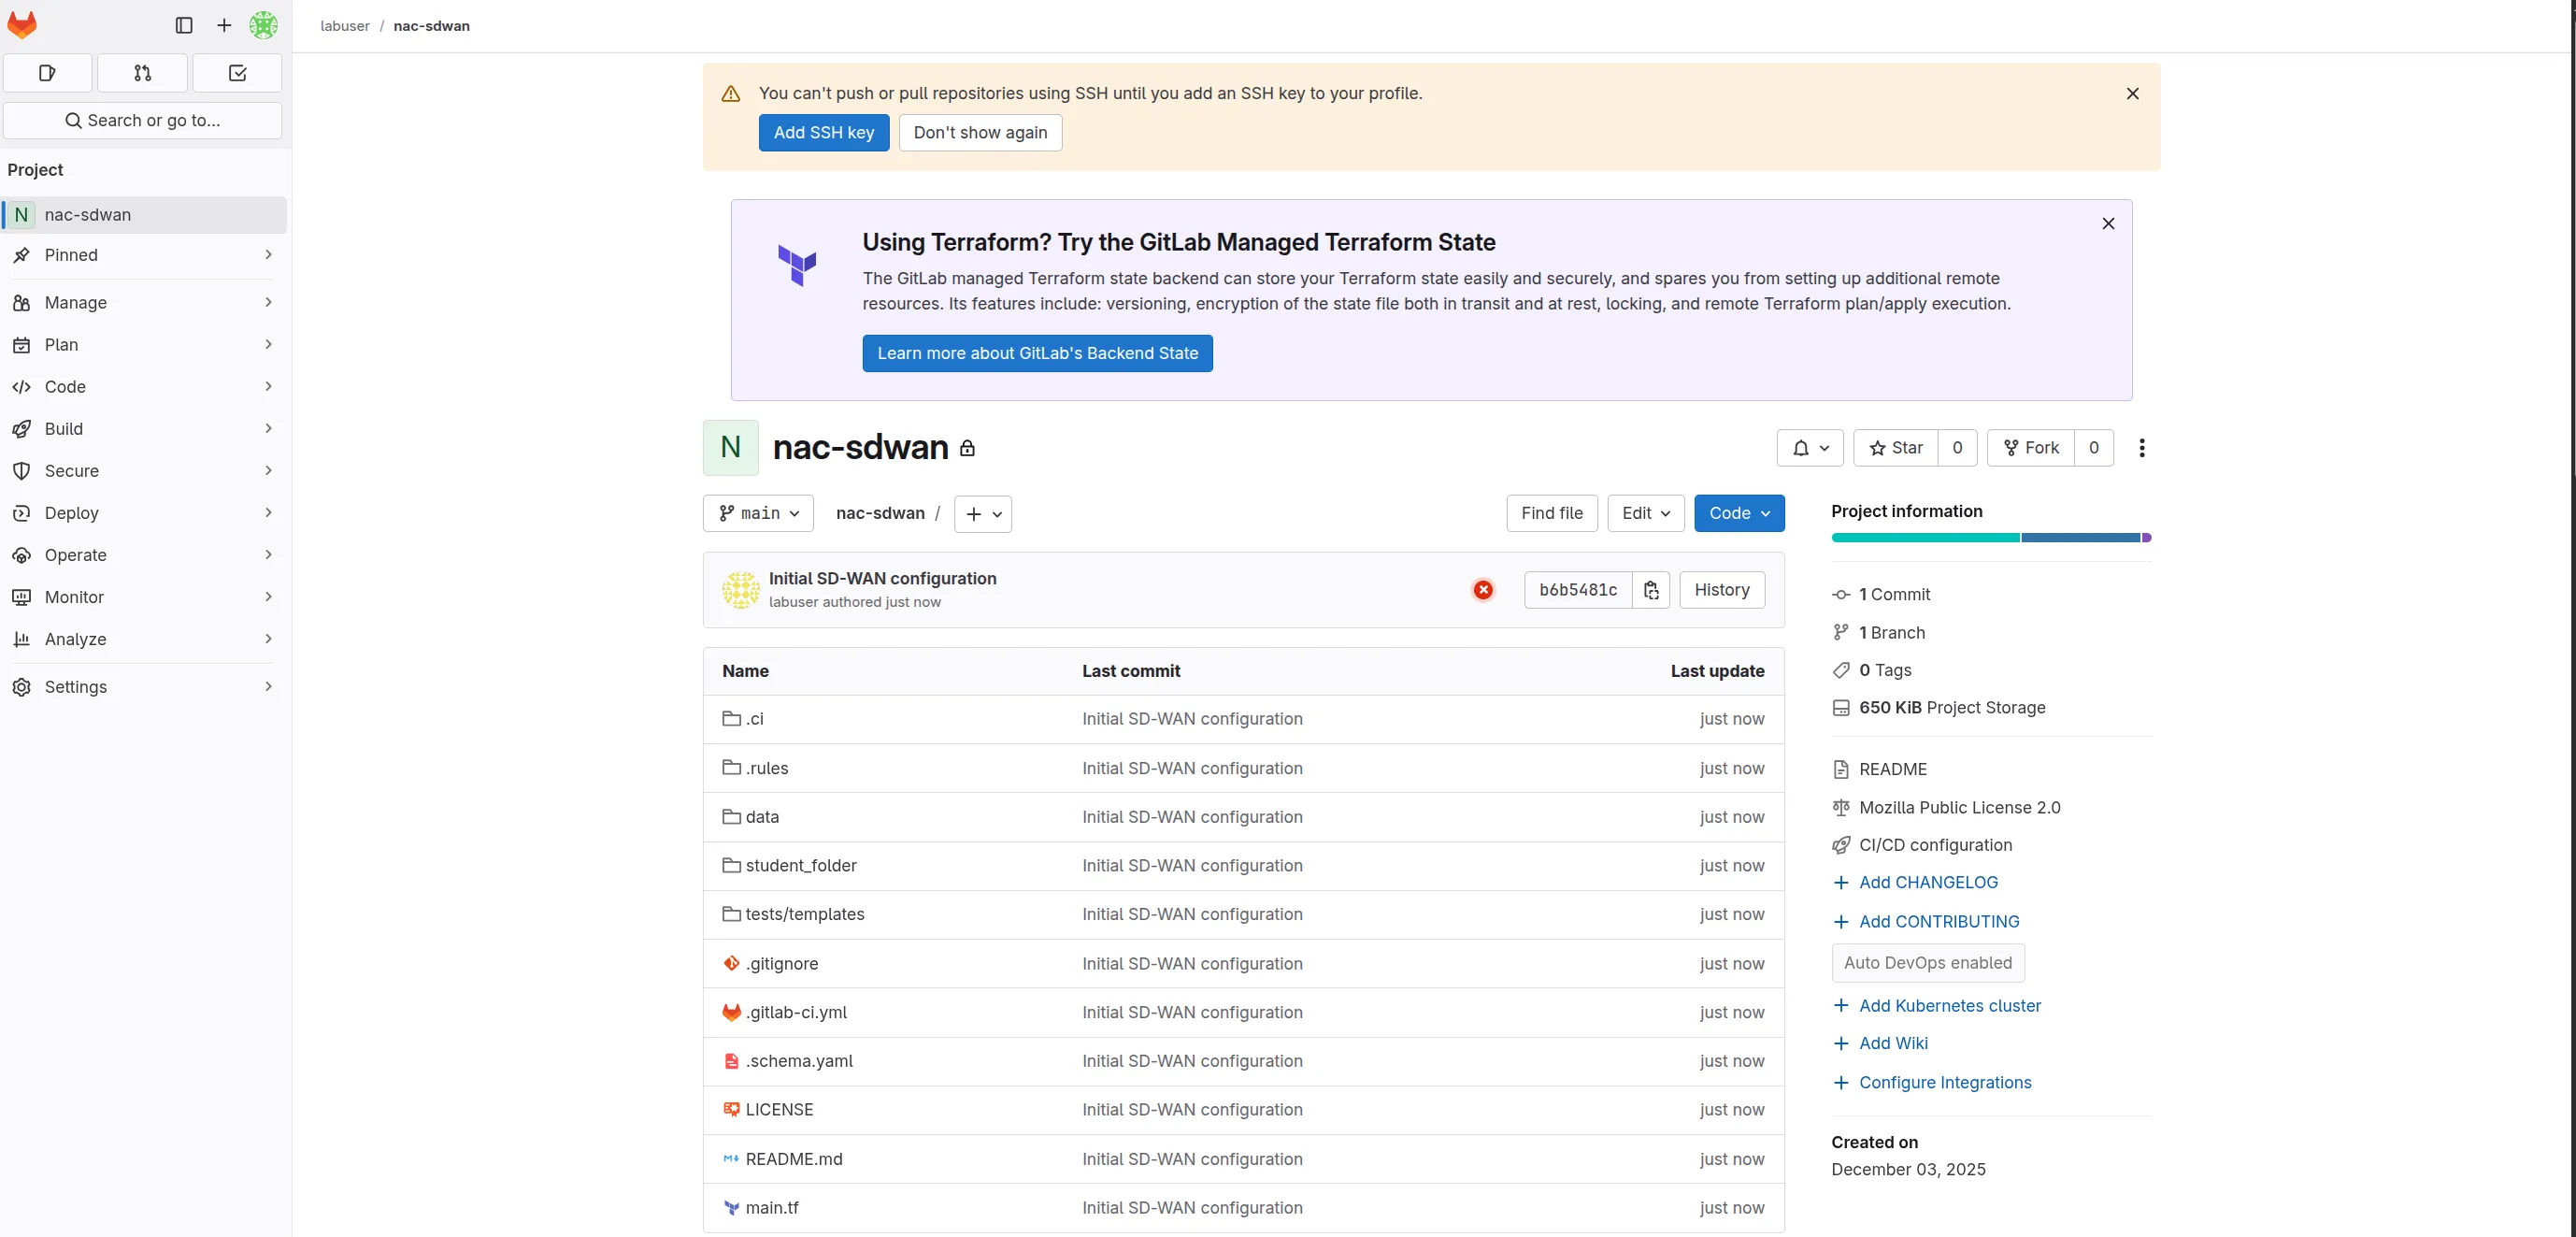
GitLab Configuration
Section titled “GitLab Configuration”Step 1: Create GitLab Access Token
Section titled “Step 1: Create GitLab Access Token”- In GitLab, click your profile icon and go to Preferences
- Select Access Tokens from the left menu
- Create a Personal Access Token with api scope
- Copy the token value - you’ll need this for the pipeline
Step 2: Configure GitLab CI/CD Variables
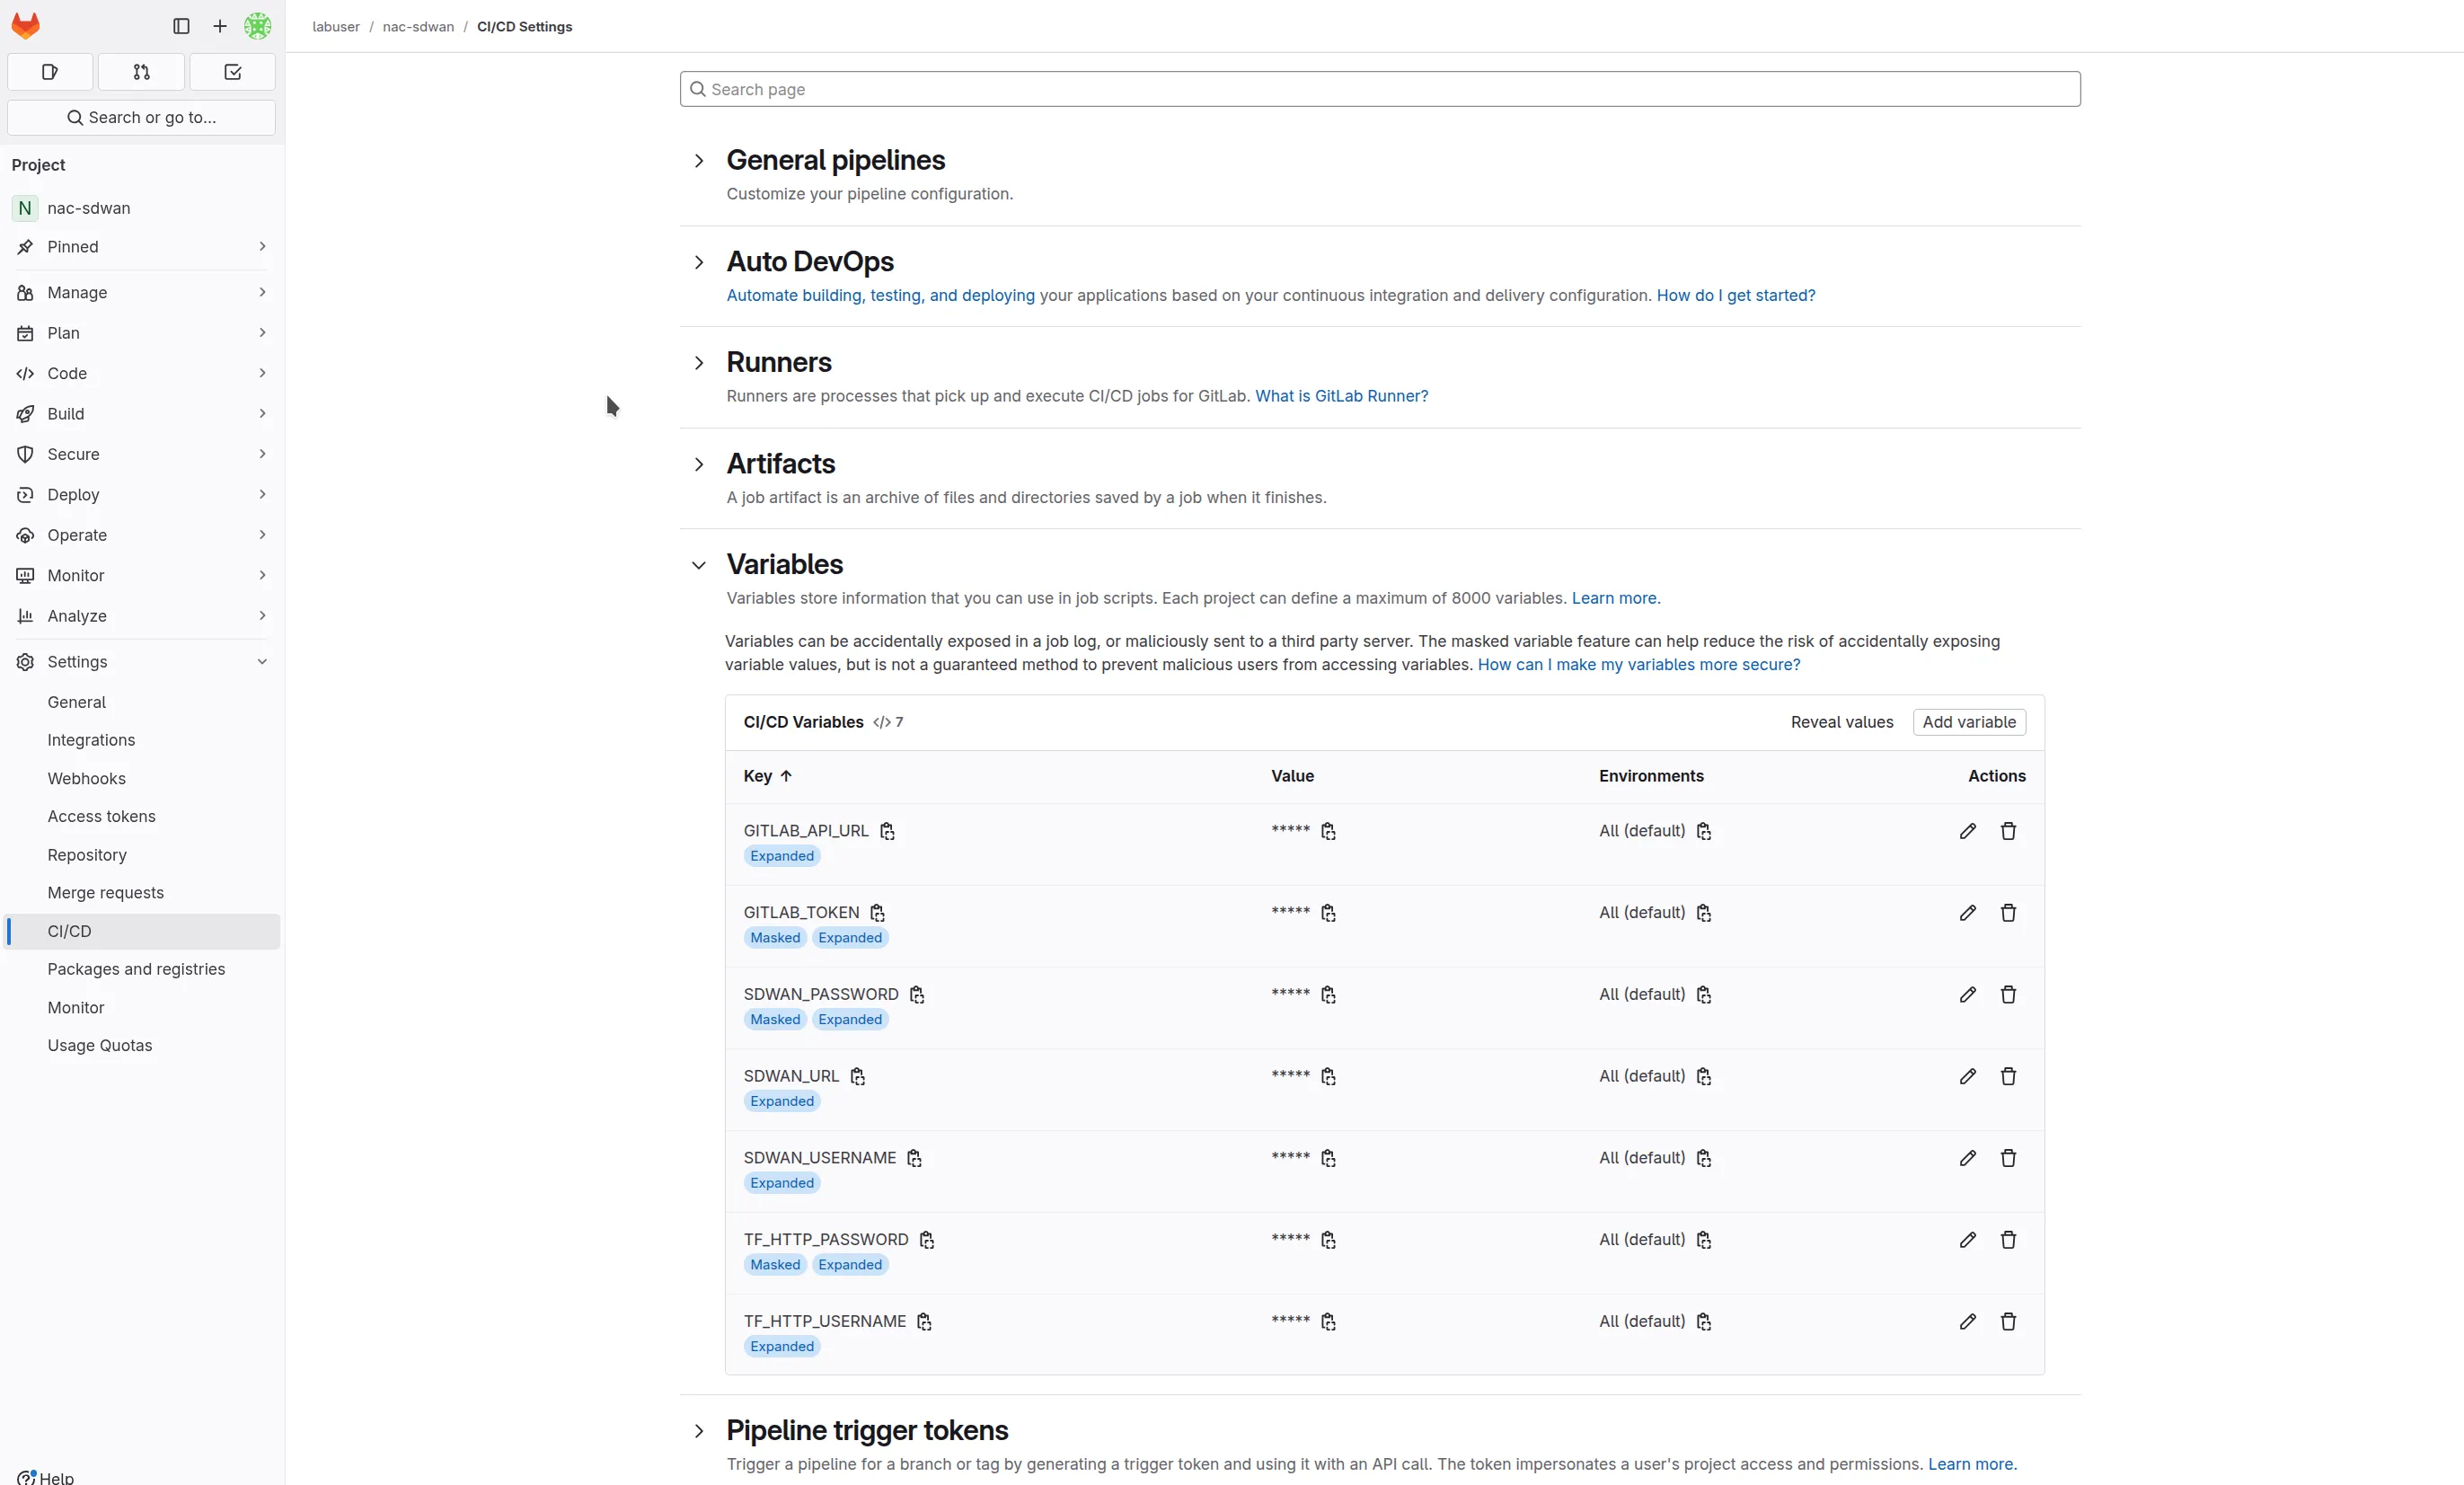
Section titled “Step 2: Configure GitLab CI/CD Variables”Navigate to your nac-sdwan repository in GitLab and go to Settings > CI/CD > Variables. Add the following variables:
| Variable Name | Value | Protect | Mask |
|---|---|---|---|
SDWAN_PASSWORD | Your vManage password | ❌ | ✅ |
SDWAN_URL | https://198.18.133.100 | ❌ | ❌ |
SDWAN_USERNAME | sdwan | ❌ | ❌ |
GITLAB_API_URL | https://gitlab.198.18.133.103.nip.io/api/v4 | ❌ | ❌ |
GITLAB_TOKEN | Your GitLab access token | ❌ | ✅ |
TF_HTTP_PASSWORD | Same as GITLAB_TOKEN | ❌ | ✅ |
TF_HTTP_USERNAME | labuser | ❌ | ❌ |
Security Notes:
- Protect Variable: Limits variable to protected branches/tags
- Mask Variable: Hides variable value in job logs
Terraform State Migration
Section titled “Terraform State Migration”Now that your repository is connected to GitLab and you have the necessary access tokens configured, you can migrate your existing Terraform state to GitLab’s backend.
Step 1: Verify Repository Status
Section titled “Step 1: Verify Repository Status”On code server terminal, check git repository status and confirm connection to GitLab:
cd nac-sdwangit remote -vgit statusStep 2: Migrate Existing Terraform State to GitLab
Section titled “Step 2: Migrate Existing Terraform State to GitLab”If you have an existing Terraform state file locally, migrate it to GitLab’s HTTP backend:
export GITLAB_ACCESS_TOKEN=<YOUR-ACCESS-TOKEN>export TF_STATE_NAME=tfstateterraform init \ -backend-config="address=https://gitlab.198.18.133.103.nip.io/api/v4/projects/11/terraform/state/$TF_STATE_NAME" \ -backend-config="lock_address=https://gitlab.198.18.133.103.nip.io/api/v4/projects/11/terraform/state/$TF_STATE_NAME/lock" \ -backend-config="unlock_address=https://gitlab.198.18.133.103.nip.io/api/v4/projects/11/terraform/state/$TF_STATE_NAME/lock" \ -backend-config="username=labuser" \ -backend-config="password=$GITLAB_ACCESS_TOKEN" \ -backend-config="lock_method=POST" \ -backend-config="unlock_method=DELETE" \ -backend-config="retry_wait_min=5"Replace <YOUR-ACCESS-TOKEN> with the GitLab access token you created in the previous section. This command will migrate your local state file to GitLab’s HTTP backend with proper locking support.
Important Notes:
- Replace
11in the project ID with your actual GitLab project ID (visible in your project’s main page) - The migration preserves your existing infrastructure state
- After migration, the local
terraform.tfstatefile is no longer used
Commit the successful migration:
git add -Agit commit -m "Migrate Terraform state to GitLab backend"git -c http.sslVerify=false push origin mainStep 3: Verify Pipeline File
Section titled “Step 3: Verify Pipeline File”Your repository should already contain a .gitlab-ci.yml file. This file defines the complete CI/CD pipeline that will automate validation, planning, deployment, and testing of your SD-WAN configuration changes.
Testing Your Pipeline
Section titled “Testing Your Pipeline”Once your pipeline is configured, test it with real SD-WAN changes:
Step 1: Create Feature Branch
Section titled “Step 1: Create Feature Branch”git checkout -b tloc-preference-changeStep 2: Make Configuration Changes
Section titled “Step 2: Make Configuration Changes”Edit your SD-WAN data model to change TLOC preferences:
# In sites.nac.yaml - example changevpn0_tloc01_tunnel_ipsec_preference: 1000vpn0_tloc02_tunnel_ipsec_preference: 1000Step 3: Commit and Push Changes
Section titled “Step 3: Commit and Push Changes”git add .git commit -m "Update TLOC preferences for DC routers"git -c http.sslVerify=false push origin tloc-preference-changeStep 4: Monitor Pipeline Execution
Section titled “Step 4: Monitor Pipeline Execution”- GitLab Interface: Navigate to CI/CD > Pipelines in GitLab to monitor execution
- Stage Progress: Watch each stage (validate, plan, deploy, test) execute
Step 5: Create Merge Request
Section titled “Step 5: Create Merge Request”- Create a merge request from your feature branch to master
- Review the Terraform plan posted as a comment
- Verify the planned changes match your intentions
- Merge the request to trigger full deployment
Step 6: Verify Deployment
Section titled “Step 6: Verify Deployment”- Pipeline Success: Confirm all stages pass successfully
- SD-WAN Manager: Log into vManage to verify configuration changes
- Test Reports: Review integration test results in pipeline artifacts
Pipeline Workflow Summary
Section titled “Pipeline Workflow Summary”The complete workflow follows this pattern:

Branch-Based Execution
Section titled “Branch-Based Execution”| Branch Type | Stages Executed |
|---|---|
| Feature Branch | Validate only |
| Merge Request | Validate + Plan |
| Master Branch | Validate + Plan + Deploy + Test |
This strategy ensures:
- Safe Development: Feature branches validate without deploying
- Change Visibility: Merge requests show planned changes
- Controlled Deployment: Only master branch deploys to production
Troubleshooting Common Issues
Section titled “Troubleshooting Common Issues”Pipeline Failures
Section titled “Pipeline Failures”Validation Stage Failures
Section titled “Validation Stage Failures”# Check validation outputcat fmt_output.txtcat validate_output.txtCommon issues:
- Terraform formatting errors: Run
terraform fmtlocally - Data model schema violations: Fix YAML structure and required fields
- Reference integrity: Ensure all template references exist
Plan Stage Failures
Section titled “Plan Stage Failures”# Check Terraform plan outputcat plan.txtCommon issues:
- Authentication errors: Verify SDWAN_* variables in GitLab
- State conflicts: Check for concurrent pipeline runs
- Provider issues: Verify Terraform provider configuration
Deploy Stage Failures
Section titled “Deploy Stage Failures”Check SD-WAN Manager connectivity and permissions:
- Verify vManage is accessible
- Confirm user has appropriate permissions
- Check for resource conflicts in SD-WAN Manager
Test Stage Failures
Section titled “Test Stage Failures”# Review test resultscat test_output.txt# Check HTML reports in artifactsCommon issues:
- Configuration mismatches: Review test reports for specific failures
- Timing issues: SD-WAN Manager may need time to propagate changes
- Template attachment issues: Verify devices are properly attached
GitLab Configuration Issues
Section titled “GitLab Configuration Issues”Missing Variables
Section titled “Missing Variables”Ensure all required CI/CD variables are configured:
- SDWAN_* variables for vManage connection
- GITLAB_* variables for state management
- WEBEX_* variables for notifications (if using)
SSL Certificate Issues
Section titled “SSL Certificate Issues”For lab environments with self-signed certificates:
# Add to .gitlab-ci.yml if neededvariables: GIT_SSL_NO_VERIFY: "true"Security Considerations
Section titled “Security Considerations”Credential Management
Section titled “Credential Management”- Use GitLab CI/CD Variables: Never hard-code credentials
- Enable Masking: Mask sensitive variables in logs
- Limit Scope: Use protect variables for production branches
- Regular Rotation: Periodically rotate access tokens and passwords
State File Security
Section titled “State File Security”- GitLab Backend: Leverage GitLab’s access controls for state
- State Locking: Prevent concurrent modifications
- Backup Strategy: Ensure state files are backed up with GitLab
Network Security
Section titled “Network Security”- HTTPS Connections: Use secure connections to SD-WAN Manager
- VPN Access: Ensure proper network access controls
- Audit Logging: Enable comprehensive logging in SD-WAN Manager
Advanced Pipeline Features
Section titled “Advanced Pipeline Features”Multi-Environment Support
Section titled “Multi-Environment Support”Configure separate variables for different environments:
# Development environmentdeploy-dev:  extends: .deploy-template  variables:    SDWAN_URL: $SDWAN_DEV_URL  rules:    - if: $CI_COMMIT_BRANCH == "develop"
# Production environmentdeploy-prod:  extends: .deploy-template  variables:    SDWAN_URL: $SDWAN_PROD_URL  rules:    - if: $CI_COMMIT_BRANCH == $CI_DEFAULT_BRANCH
Manual Approval Gates
Section titled “Manual Approval Gates”Add manual approval for sensitive deployments:
deploy: stage: deploy when: manual allow_failure: falseConditional Deployments
Section titled “Conditional Deployments”Deploy only specific changes:
deploy: rules: - changes: - data/**/* - if: $CI_COMMIT_BRANCH == $CI_DEFAULT_BRANCHMonitoring and Observability
Section titled “Monitoring and Observability”Pipeline Metrics
Section titled “Pipeline Metrics”- Execution Time: Monitor pipeline duration trends
- Success Rate: Track deployment success rates
- Error Patterns: Analyze common failure points
Integration with Monitoring Tools
Section titled “Integration with Monitoring Tools”- ServiceNow: Create change records automatically
- Splunk: Forward pipeline logs for analysis
- Grafana: Visualize pipeline metrics and trends
Alerting Strategy
Section titled “Alerting Strategy”- Immediate Failures: GitLab notifications for critical issues
- Trend Analysis: Weekly reports on pipeline health
- Capacity Planning: Monitor resource usage patterns
Lab Summary
Section titled “Lab Summary”By completing this pipeline implementation, you have:
- Established Infrastructure as Code: Your SD-WAN configuration is now fully version-controlled and automated
- Implemented Multi-Stage Validation: Changes pass through validation, planning, deployment, and testing stages
- Enabled Team Collaboration: Multiple engineers can safely work on SD-WAN configurations with proper review processes
- Created Comprehensive Audit Trail: All changes are tracked with full visibility into who, what, when, and why
- Integrated Real-Time Notifications: Teams stay informed about deployment status through Webex integration
This foundation enables your organization to:
- Scale SD-WAN Operations: Handle complex deployments with confidence
- Reduce Risk: Catch errors before they impact production
- Improve Consistency: Standardize change management processes
- Enable Rapid Development: Support fast, safe iteration on network configurations
- Maintain Compliance: Provide complete documentation for audit requirements
The pipeline approach transforms SD-WAN management from manual, error-prone processes into reliable, automated operations that scale with your network’s growth and complexity.